Machines and End Effectors
Build a simple machine using at least a stepper motor. Demonstrate the ability to command the machine to get repeatable results. How can you calibrate motor position (i.e. guarantee the "home" position is the same each time you power on the device)?
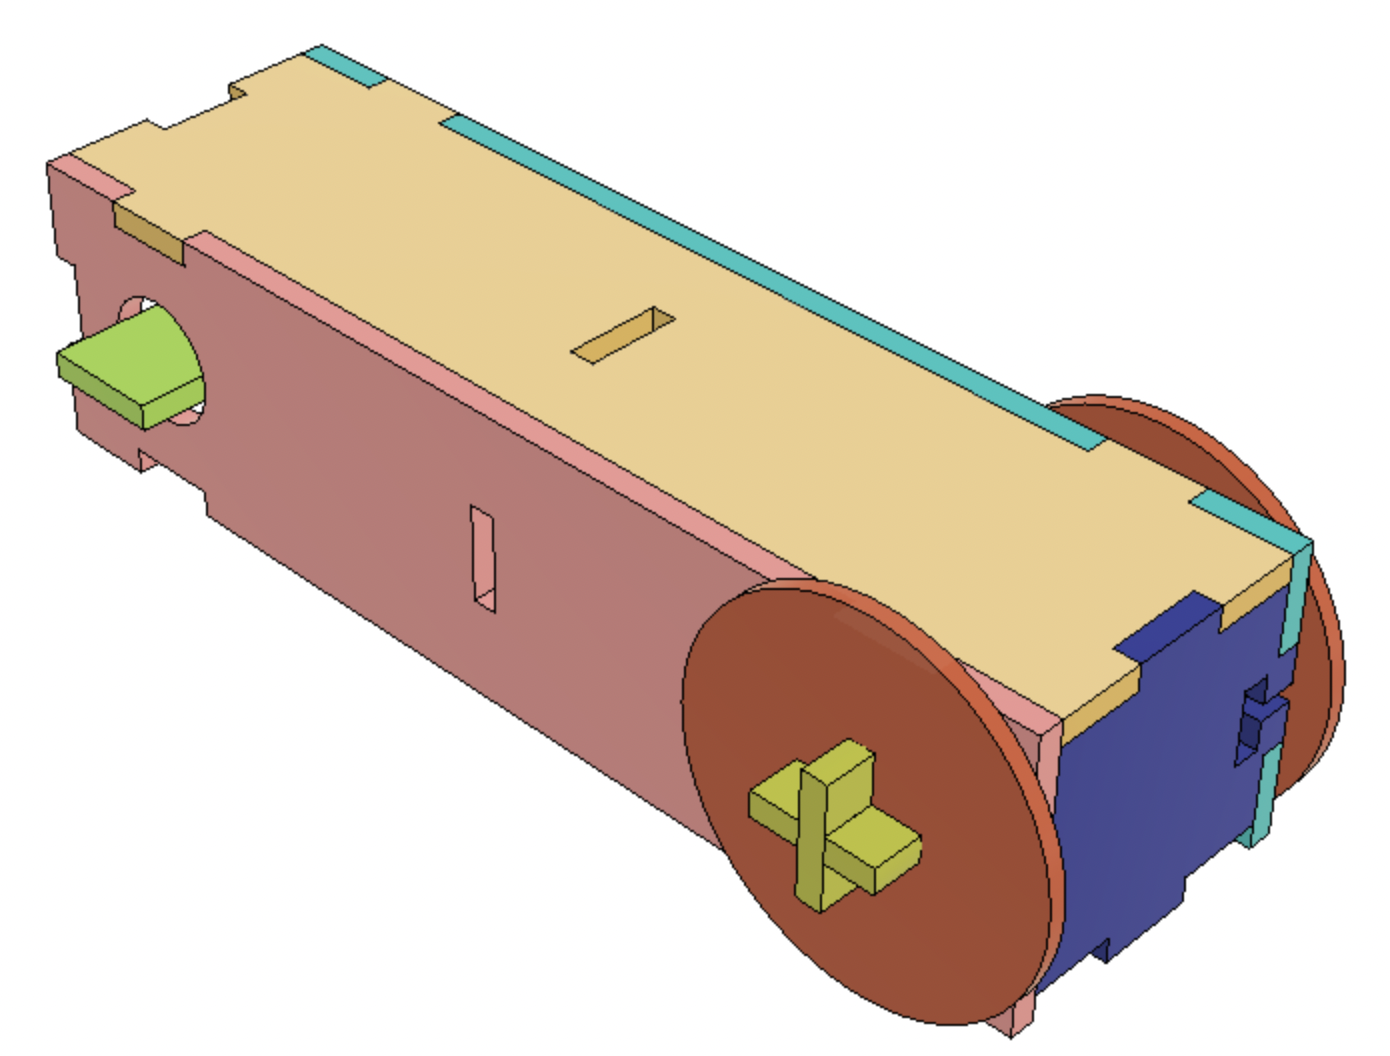
When thinking about stepper motor motion, my initial thought was to make a car-like contraption. So I went into Fusion and modeled a box that fit a stepper motor inside and attached wheels.

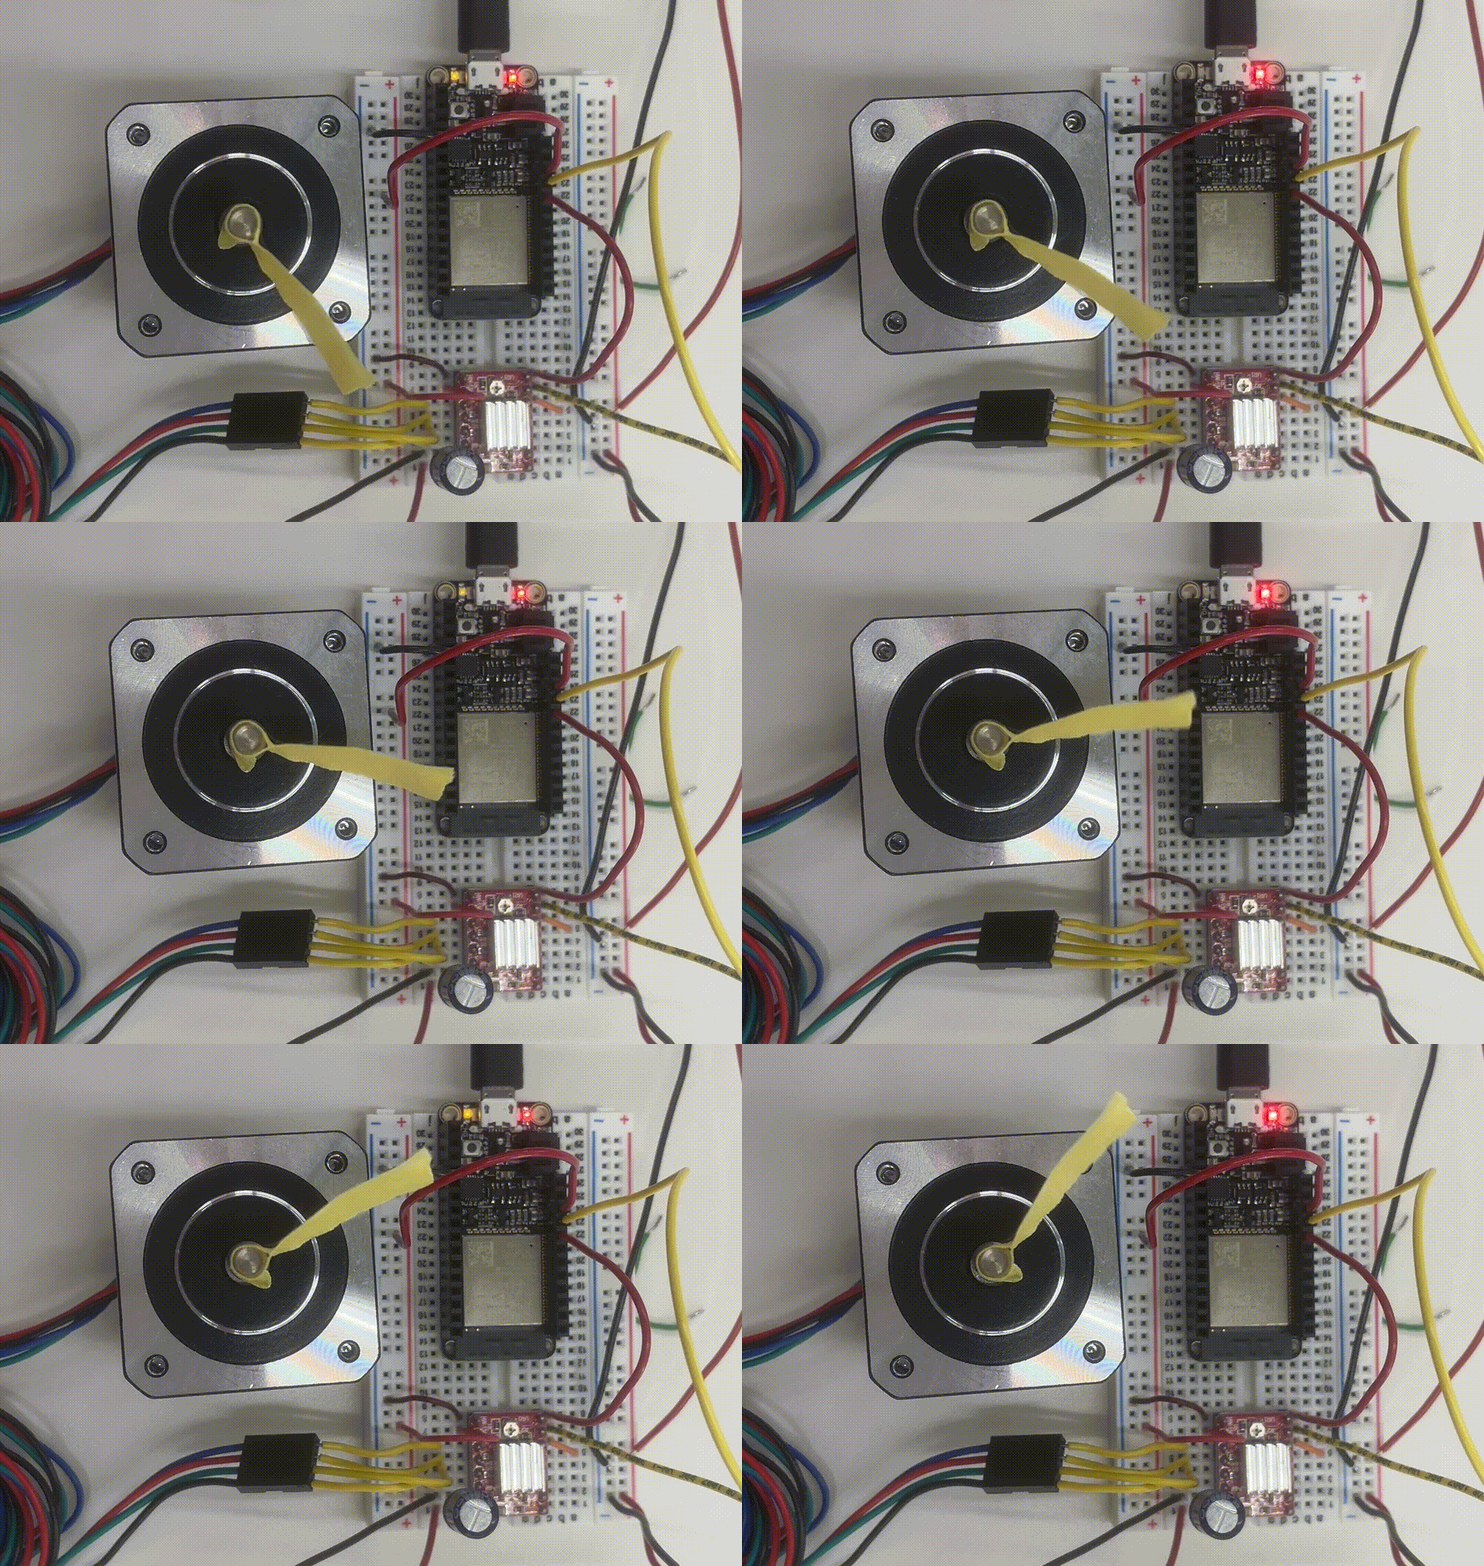
Next up was actually getting the stepper motor to work. I strugged with this for a while; initially, the motor was extremely weak and my overzealous tape flag stopped it from moving. Once I shrank the tape flag, I got it to rotate, albeit slowly.

It's going slowly, but it's going!
Gabby helped me understand that the reason why it was so weak was because I was powering the motor from the 5V on-board power, and 5V isn't much for these motors. So I tried again with an external 9V power jack, and the motor had much more torque.
Next was getting a less-jerky circle. I used the AccelStepper library for microstepping and based my code on their example:
#include <AccelStepper.h>

const int stepPin = 13;
const int dirPin = 12;
int circleCounter = 0;
int relativePos = 200;

// Define a stepper and the pins it will use
AccelStepper stepper(1, stepPin, dirPin); // initialise accelstepper for a two wire board

void setup() {
  stepper.setAcceleration(500);
}

void loop() {
  if (stepper.distanceToGo() == 0) {
    stepper.move(relativePos);
    circleCounter++;
  }
  stepper.run();

  if (circleCounter > 4) {
    relativePos *= -1;
    circleCounter = 0;
  }
}
This worked much better! I got smooth rotation and could even accelerate and decelerate.
With those two elements complete, I laser cut my design and assembled it with tape. Then I realized I had flipped the dimensions of the box and the motor didn't fit right, so I re-modeled and re-cut and re-assembled. The code above intends the motor to accelerate and decelerate through one complete rotation and repeat.
As you can see by the line on the wheel, it's quite accurate. This is as much "homing" as I did. Given enough resisting force, the motor could skip steps and lose its position, but the forces on the wheels were never large.
My initial plan was to transfer motion from the motor to the front axle with a rubber band. However, this did not work - at all. When it was just a little bit tight, the rubber band would simply stretch rather than transmit force. When it was very tight, it would slip around the wheel or axle. The wheels, too, had very little friction with the table. This second problem was easier to solve:

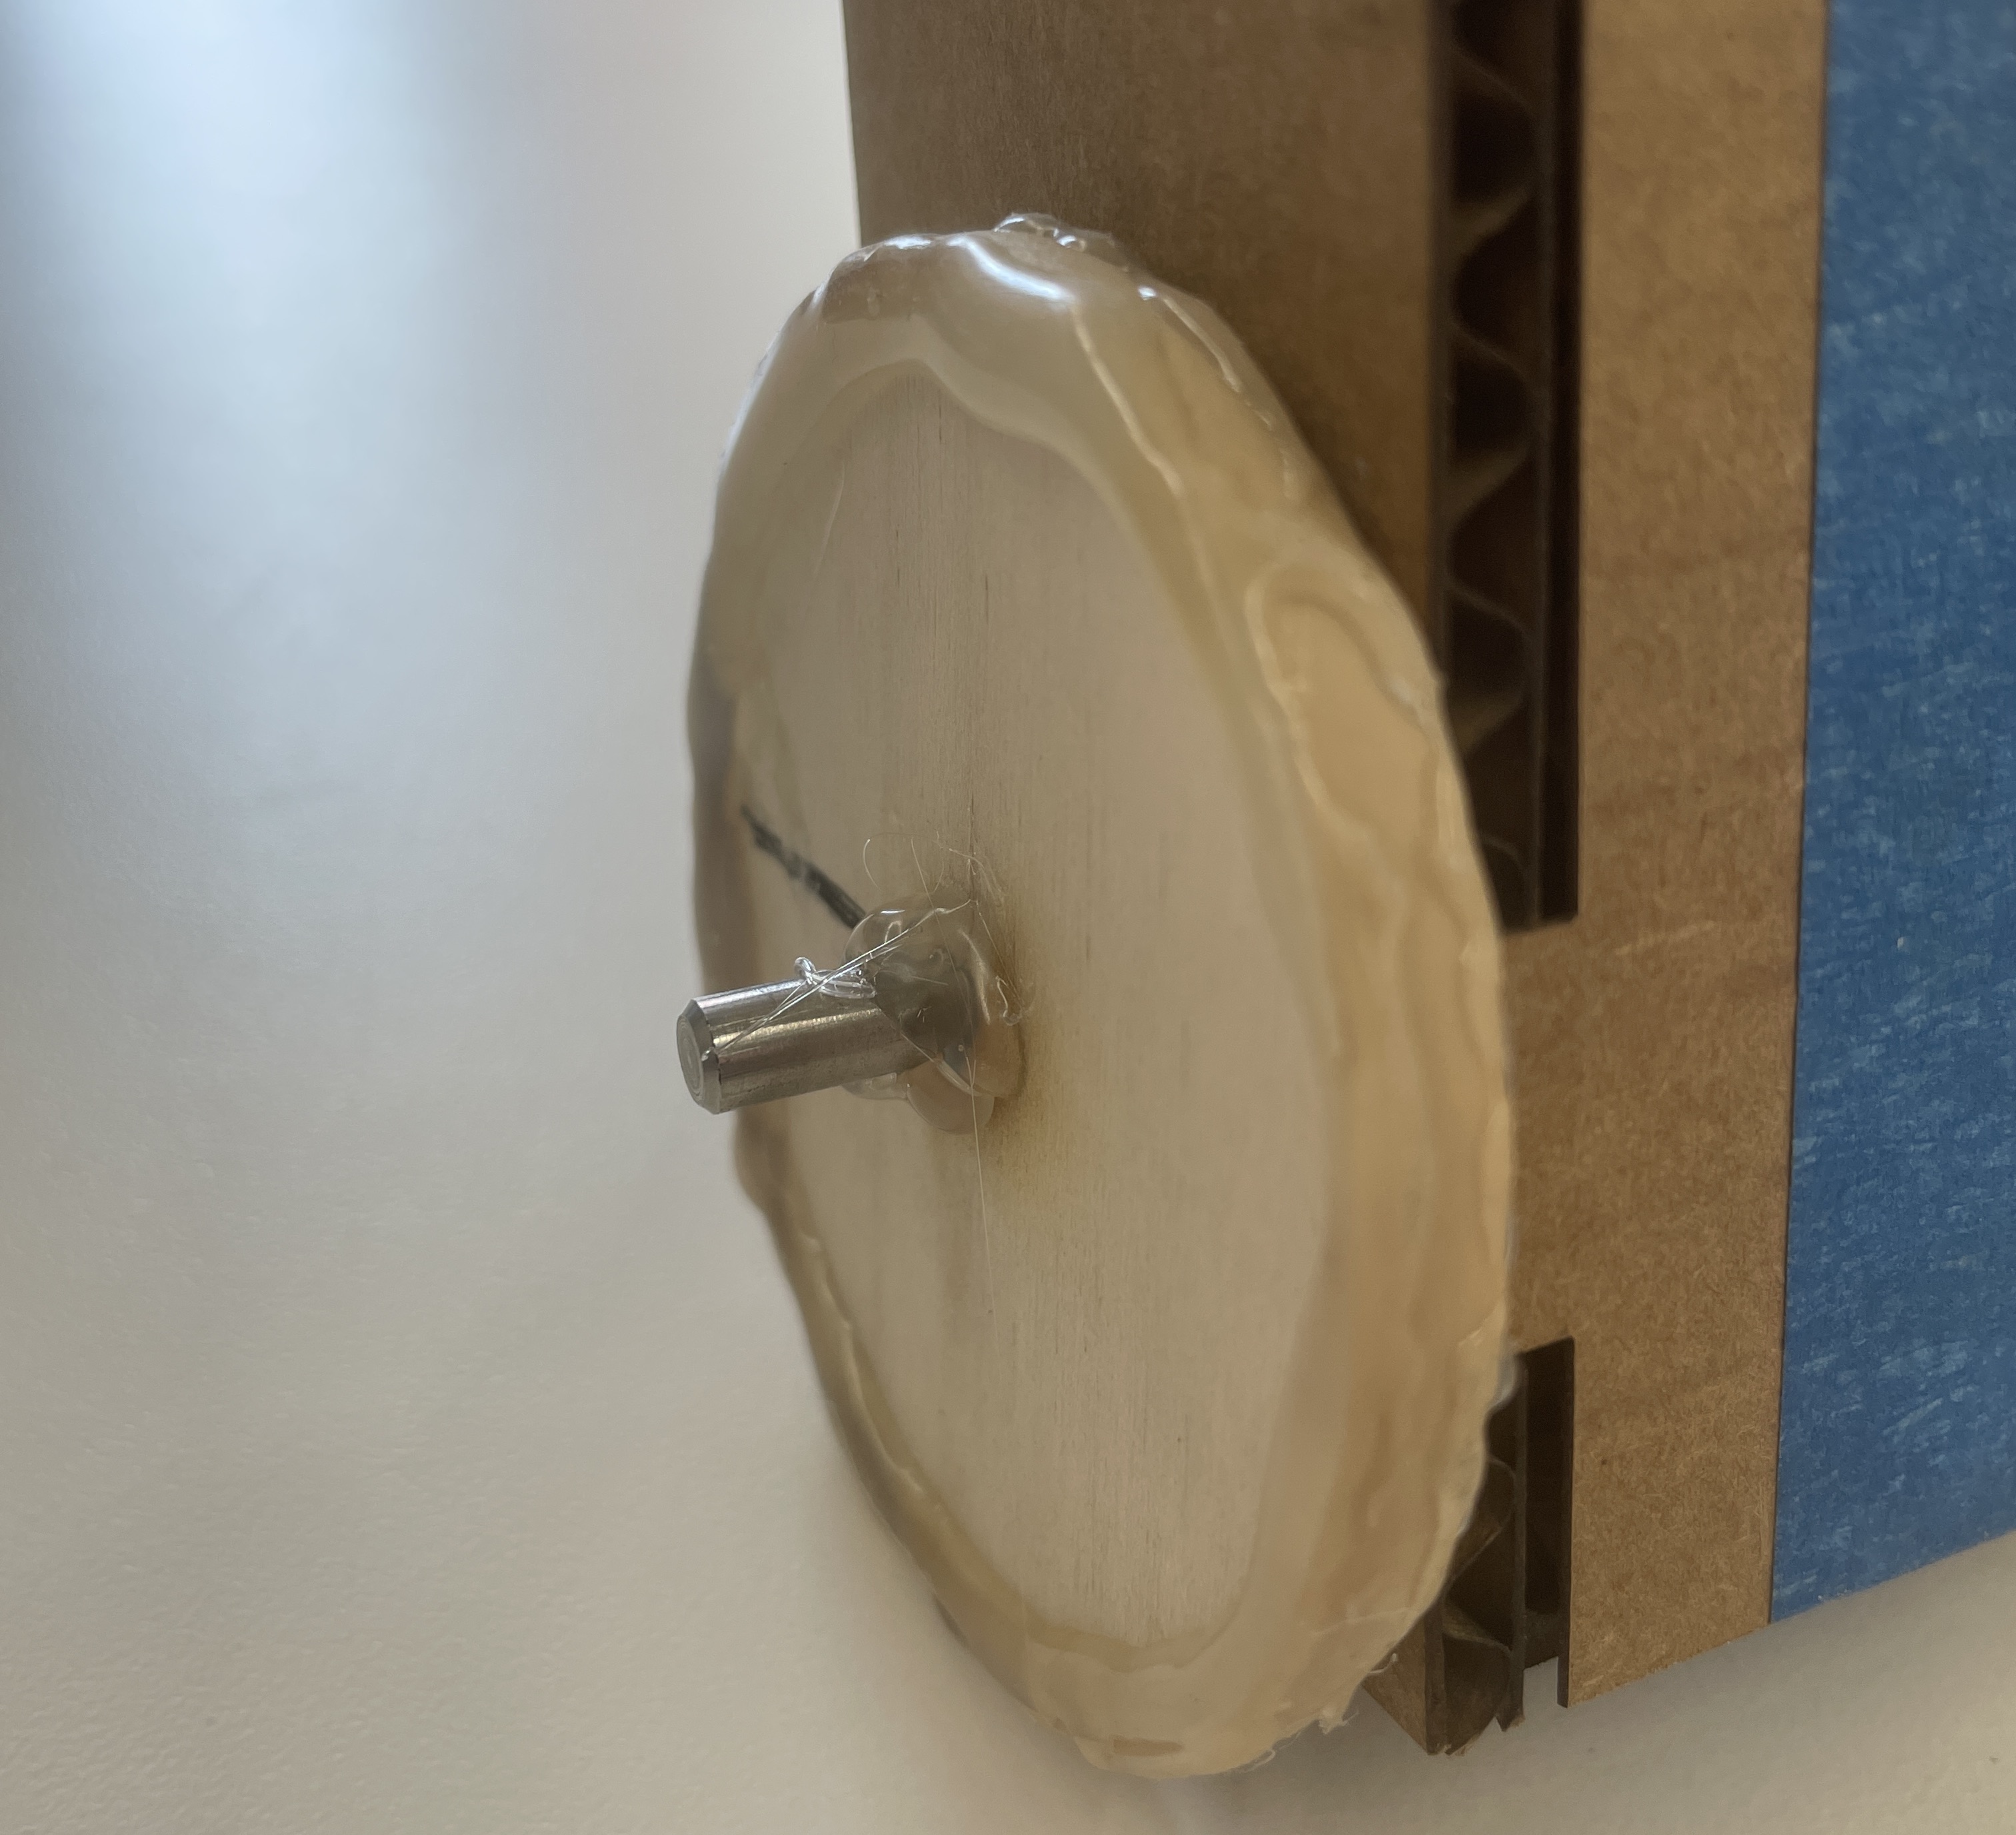
In my wheel exterior testing, I determined that a rubber band with hot glue gave just enough friction with the table to spin well. I also discovered a different type of movement which I thought was pretty fun.
Still, there can be improvements to this motion. I like how it wobbles around a lot - I think it's interesting to look at and kind of funny. I texted that video to my friends and received some feedback:

The wires were getting caught up in the rotation of the wheels, which I figured I could fix. I disassembled the bot and rerouted the wires so that they came out of its head and wouldn't get tangled in the wheels. This was effective at stopping it from running over its own wires, but they still ended up twisting too far, so I made the code run the motor forwards then backwards to cancel out the twisting.
Top view with out-of-the-way wires and backwards-forwards spins.