CNC & Molding and Casting
1. Design something and make it using CNC. You may use the ShopBot (2D outlines), the Shaper (2D outlines) or the SRM-20 (2.5D molds).
2. Create something by molding and casting.
I learned how to use the ShopBot to cut out a tiny star from OSB. I made the initial shape in Inkscape, then brought it over to Aspire to turn it into gcode. Gabby helped me enter the correct settings to match the cut I wanted to make. Specifically, I wanted to cut out the star, so made an outside cut, and measured the depth of the OSB at 12 mm.
Once I had the right settings in Aspire, I checked the profiles that it created.

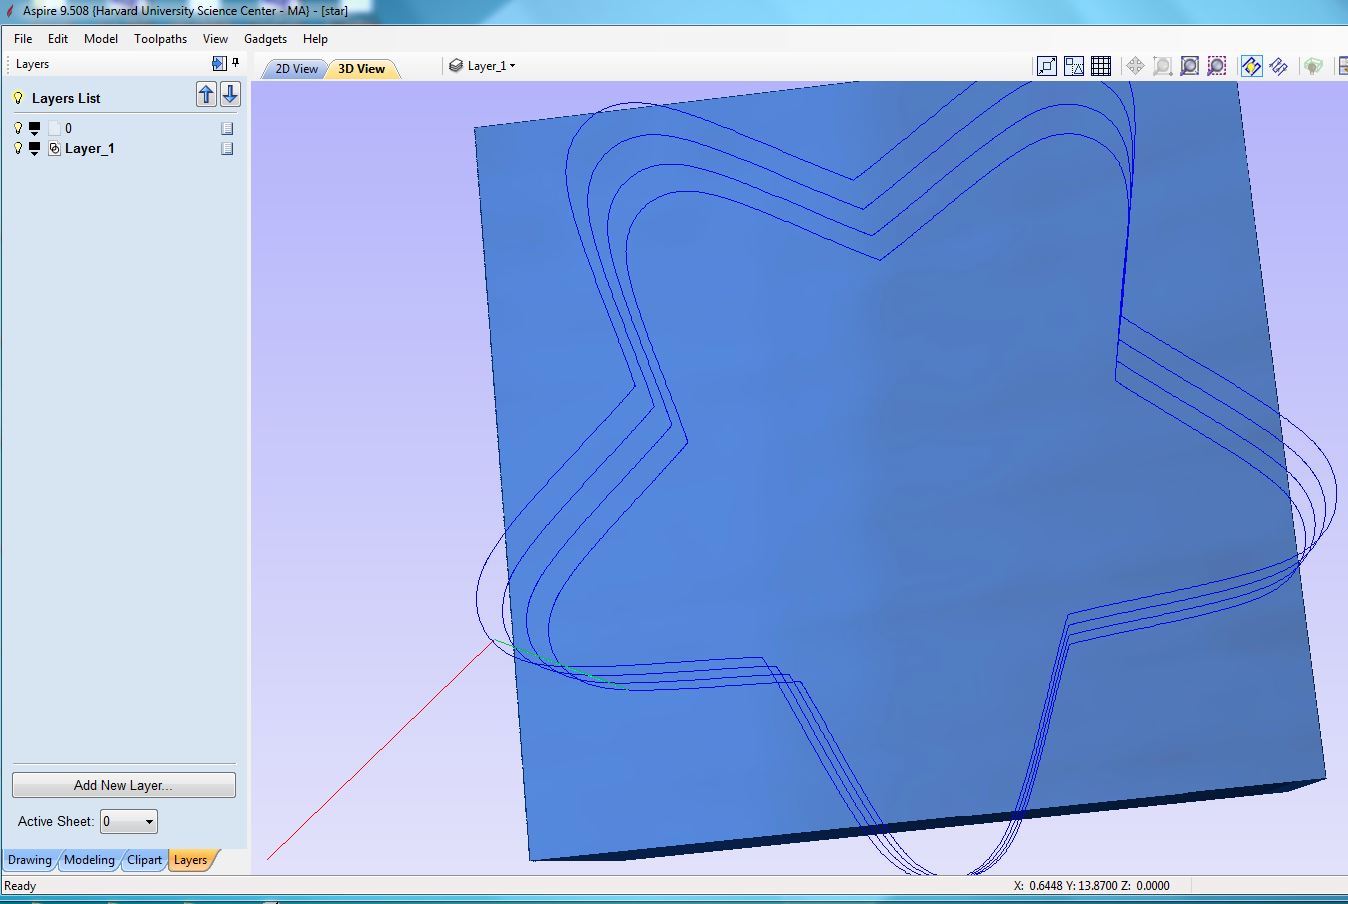
Satisfied with the cut profile, it was time to run the ShopBot. I found that using it felt very similar to using the laser cutter, with the exception that I had to zero it myself. I eyeballed the X and Y axes in order to not run into the plastic nails, and used a piece of paper sliding underneath the bit to zero the Z axis.
After running a test cut in the air and confirming that it went where I wanted it to, I cut for real.
The ShopBot is louder than the laser cutter. It also produced a far rougher cut than the laser cutter does; however, I'm not sure whether that's because of the tool or because we use nicer wood in the laser cutter.

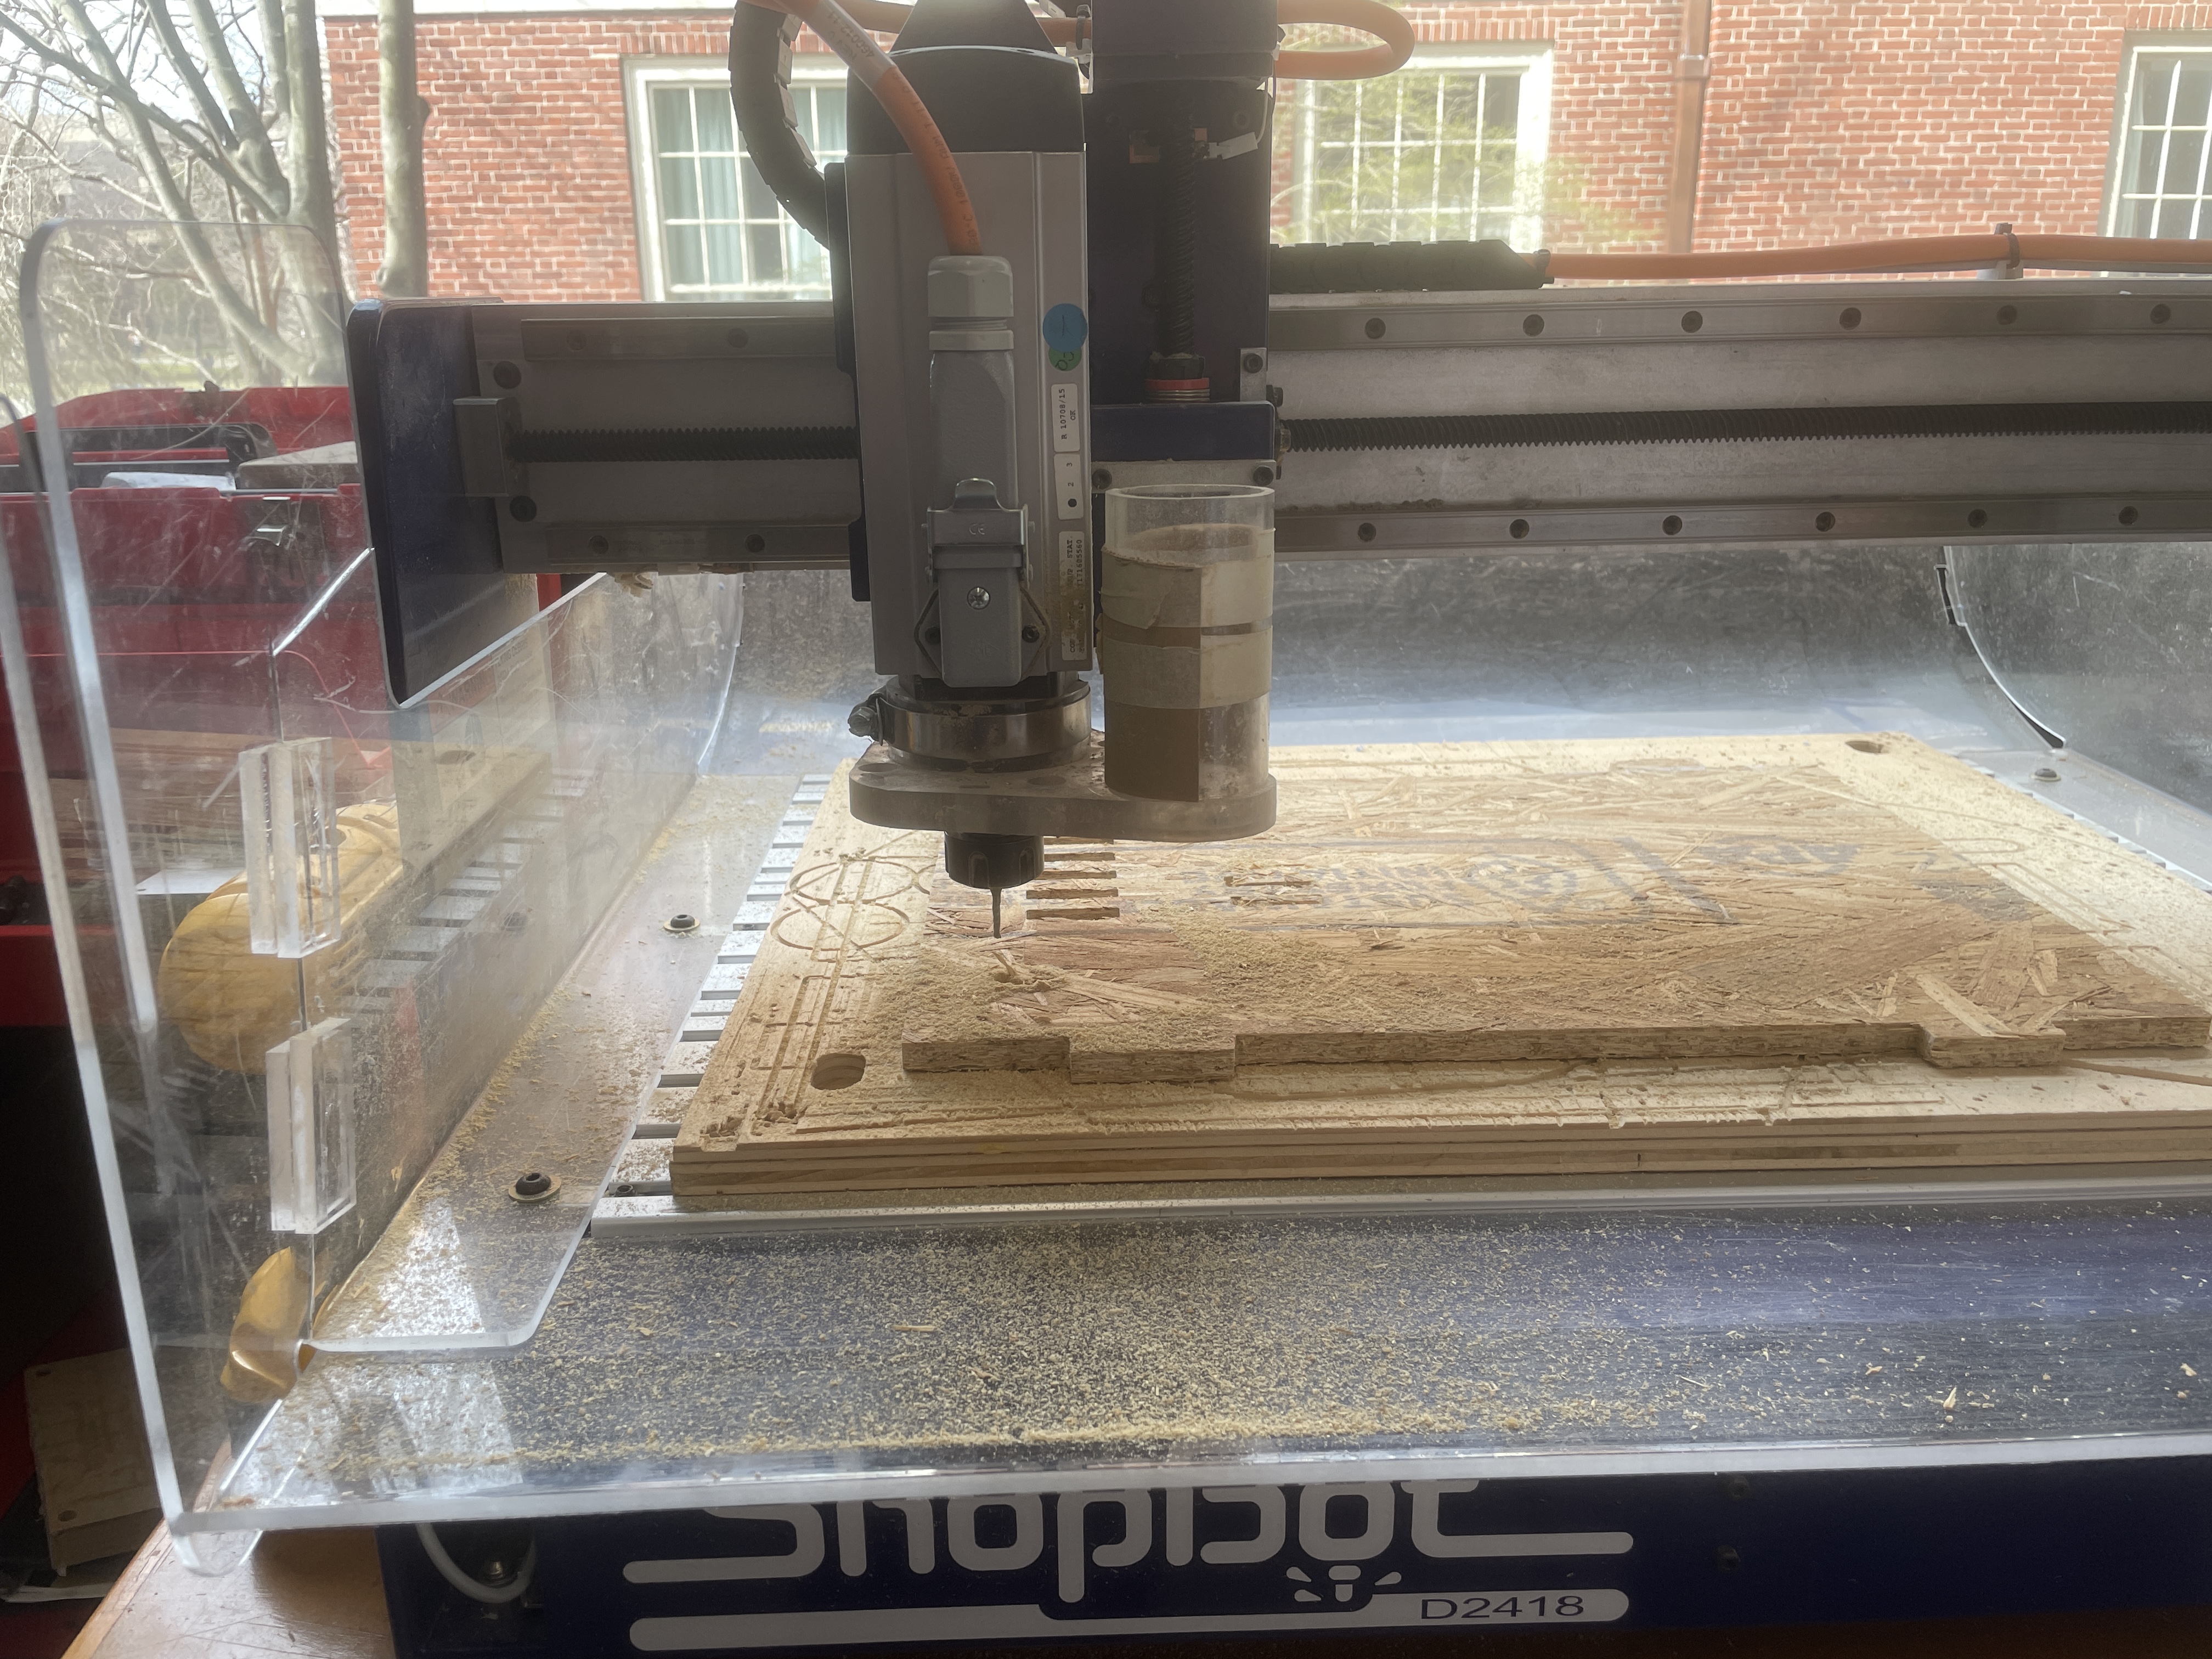

The ShopBot immediately after the cut was done

Tiny star! Note the rough edge with a piece sticking off.
I'm not planning on using the ShopBot for my final project, so I'm quite satisfied with understanding how to use it.
Next up was molding and casting. As a tabletop gamer, I think dice are very neat. I decided to mold and cast a pair of 20-sided dice, following a cap mold tutorial by Hanley Brady based on a tutorial by Dice Witchery.
I found some PVC in the lab, but it wasn't the right size to make a mold with, so I used a plastic cup instead. I cut the bottom off of the cup with a knife to make it closer to a tube shape. Next, I put layers of packing tape covering the top of the cup, stuck the dice onto the packing tape, then hot glued the tape to the cup to ensure a tight seal.
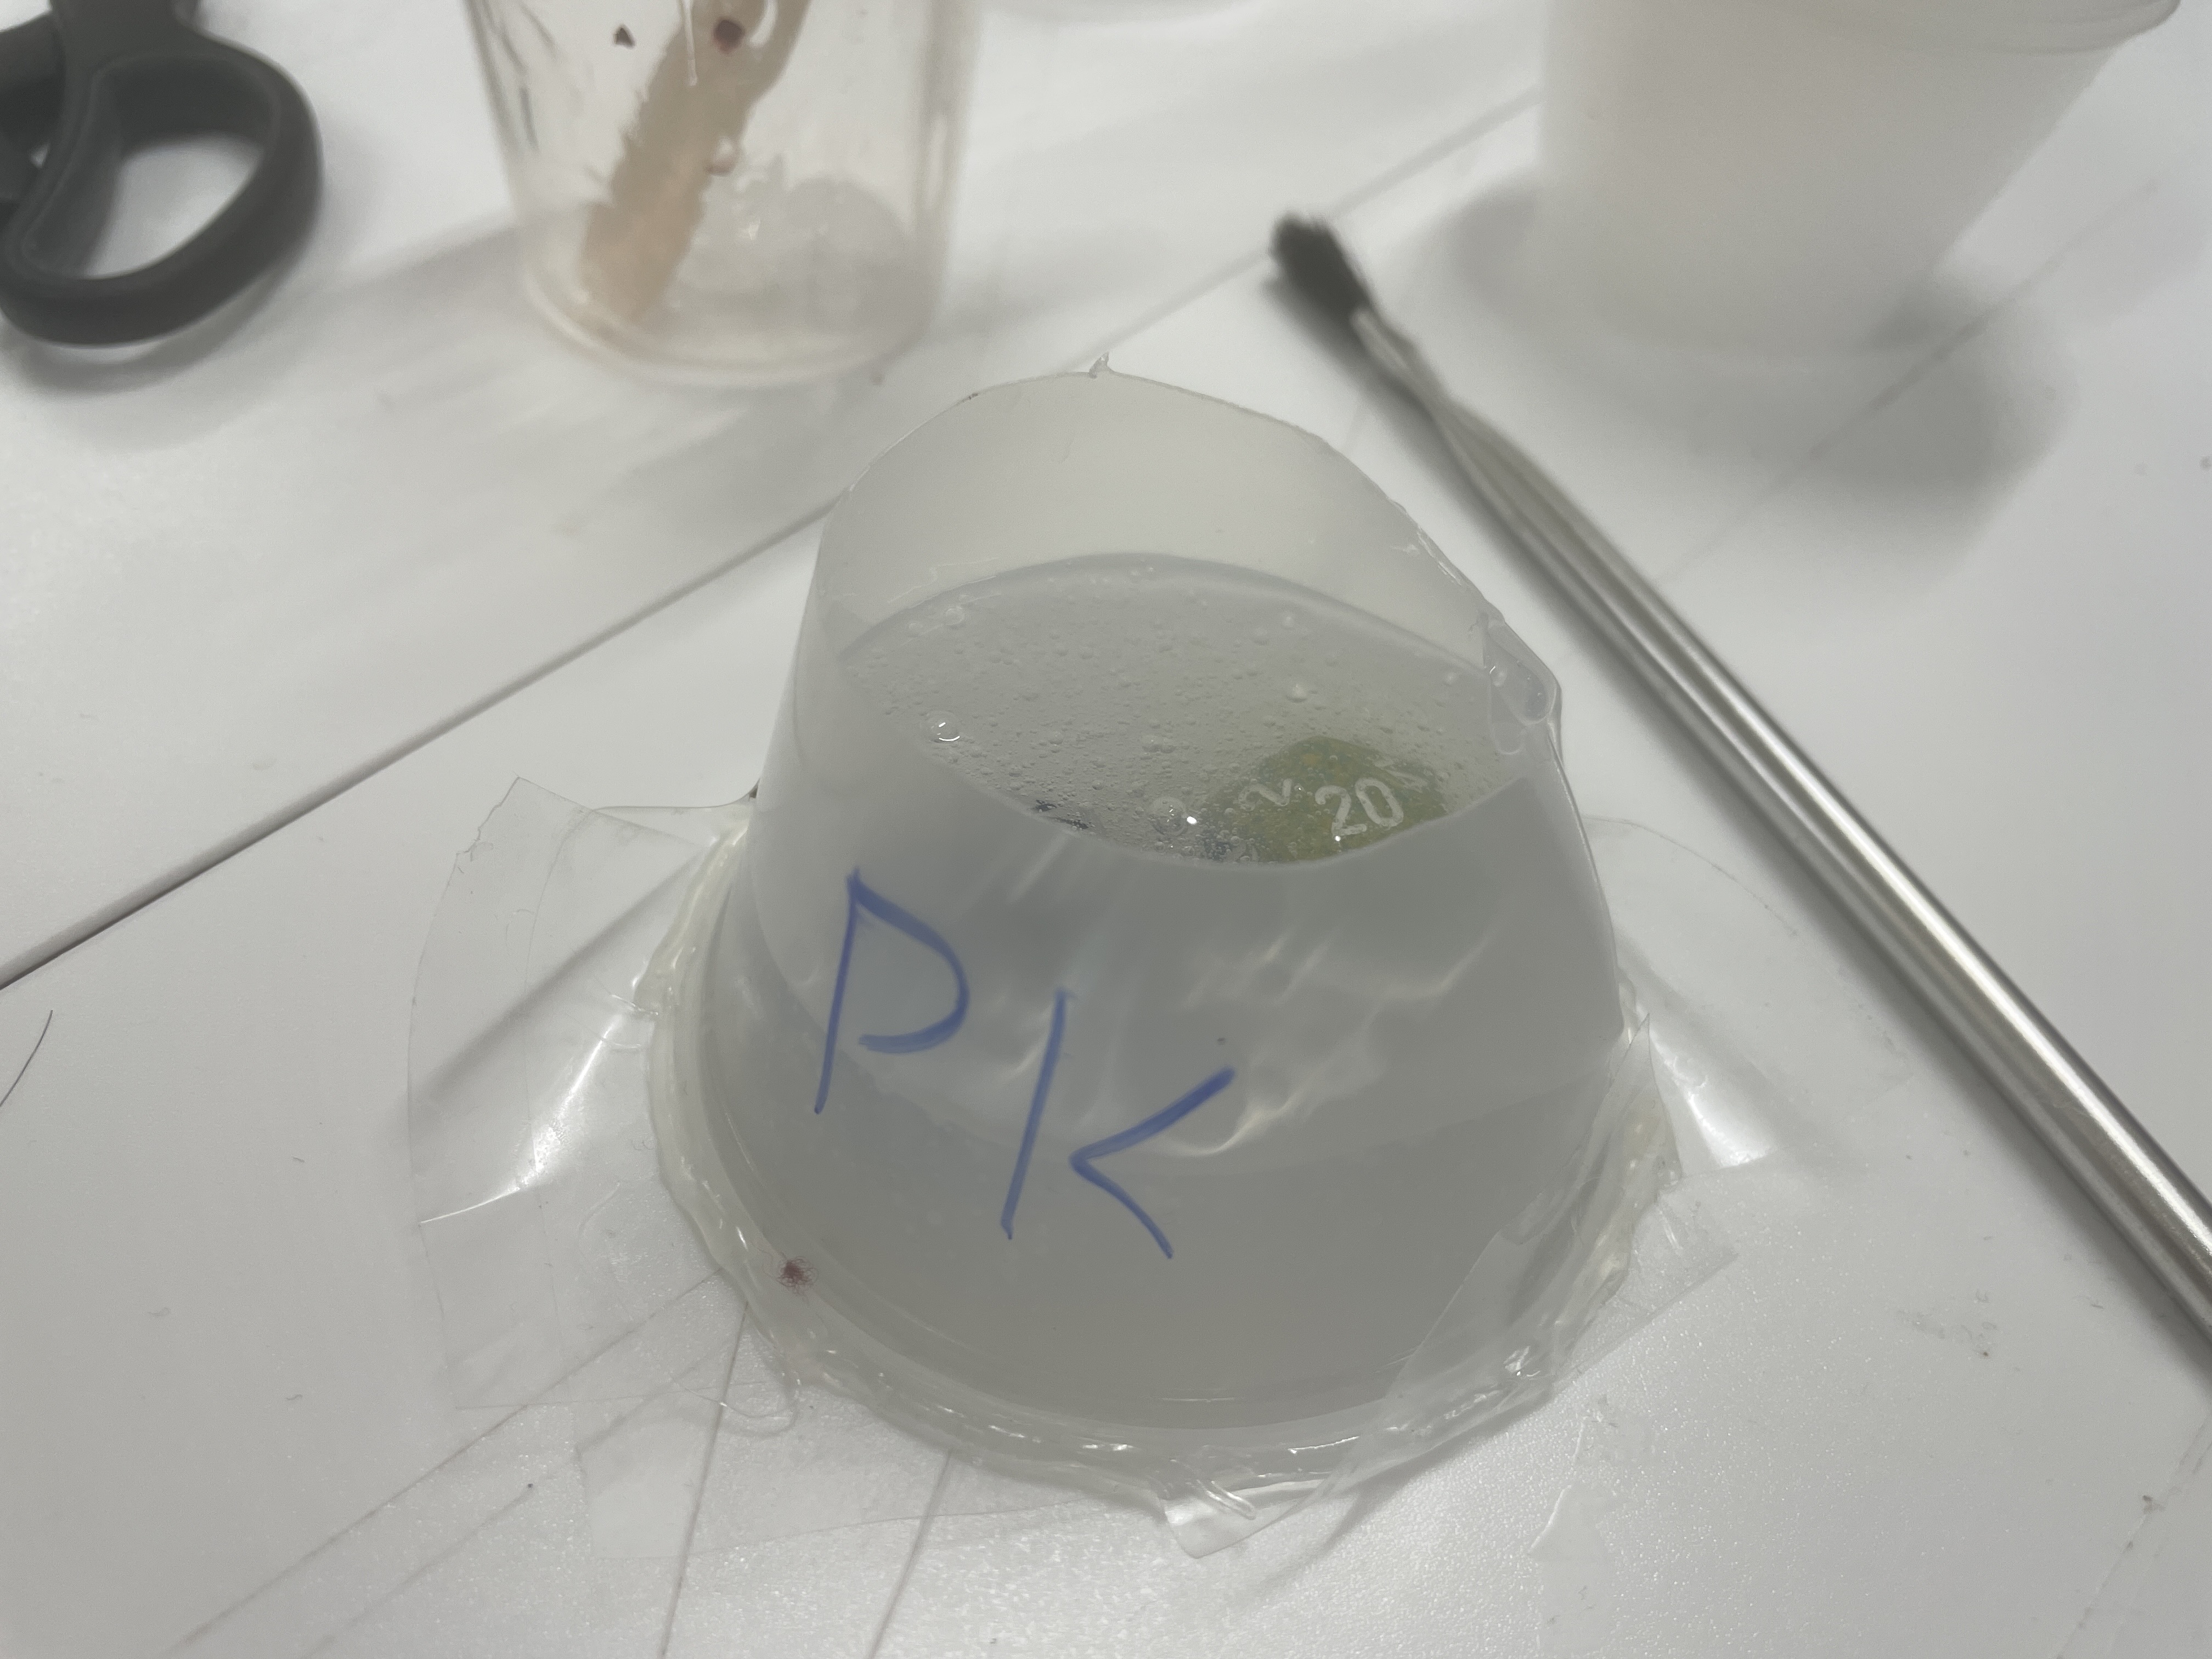
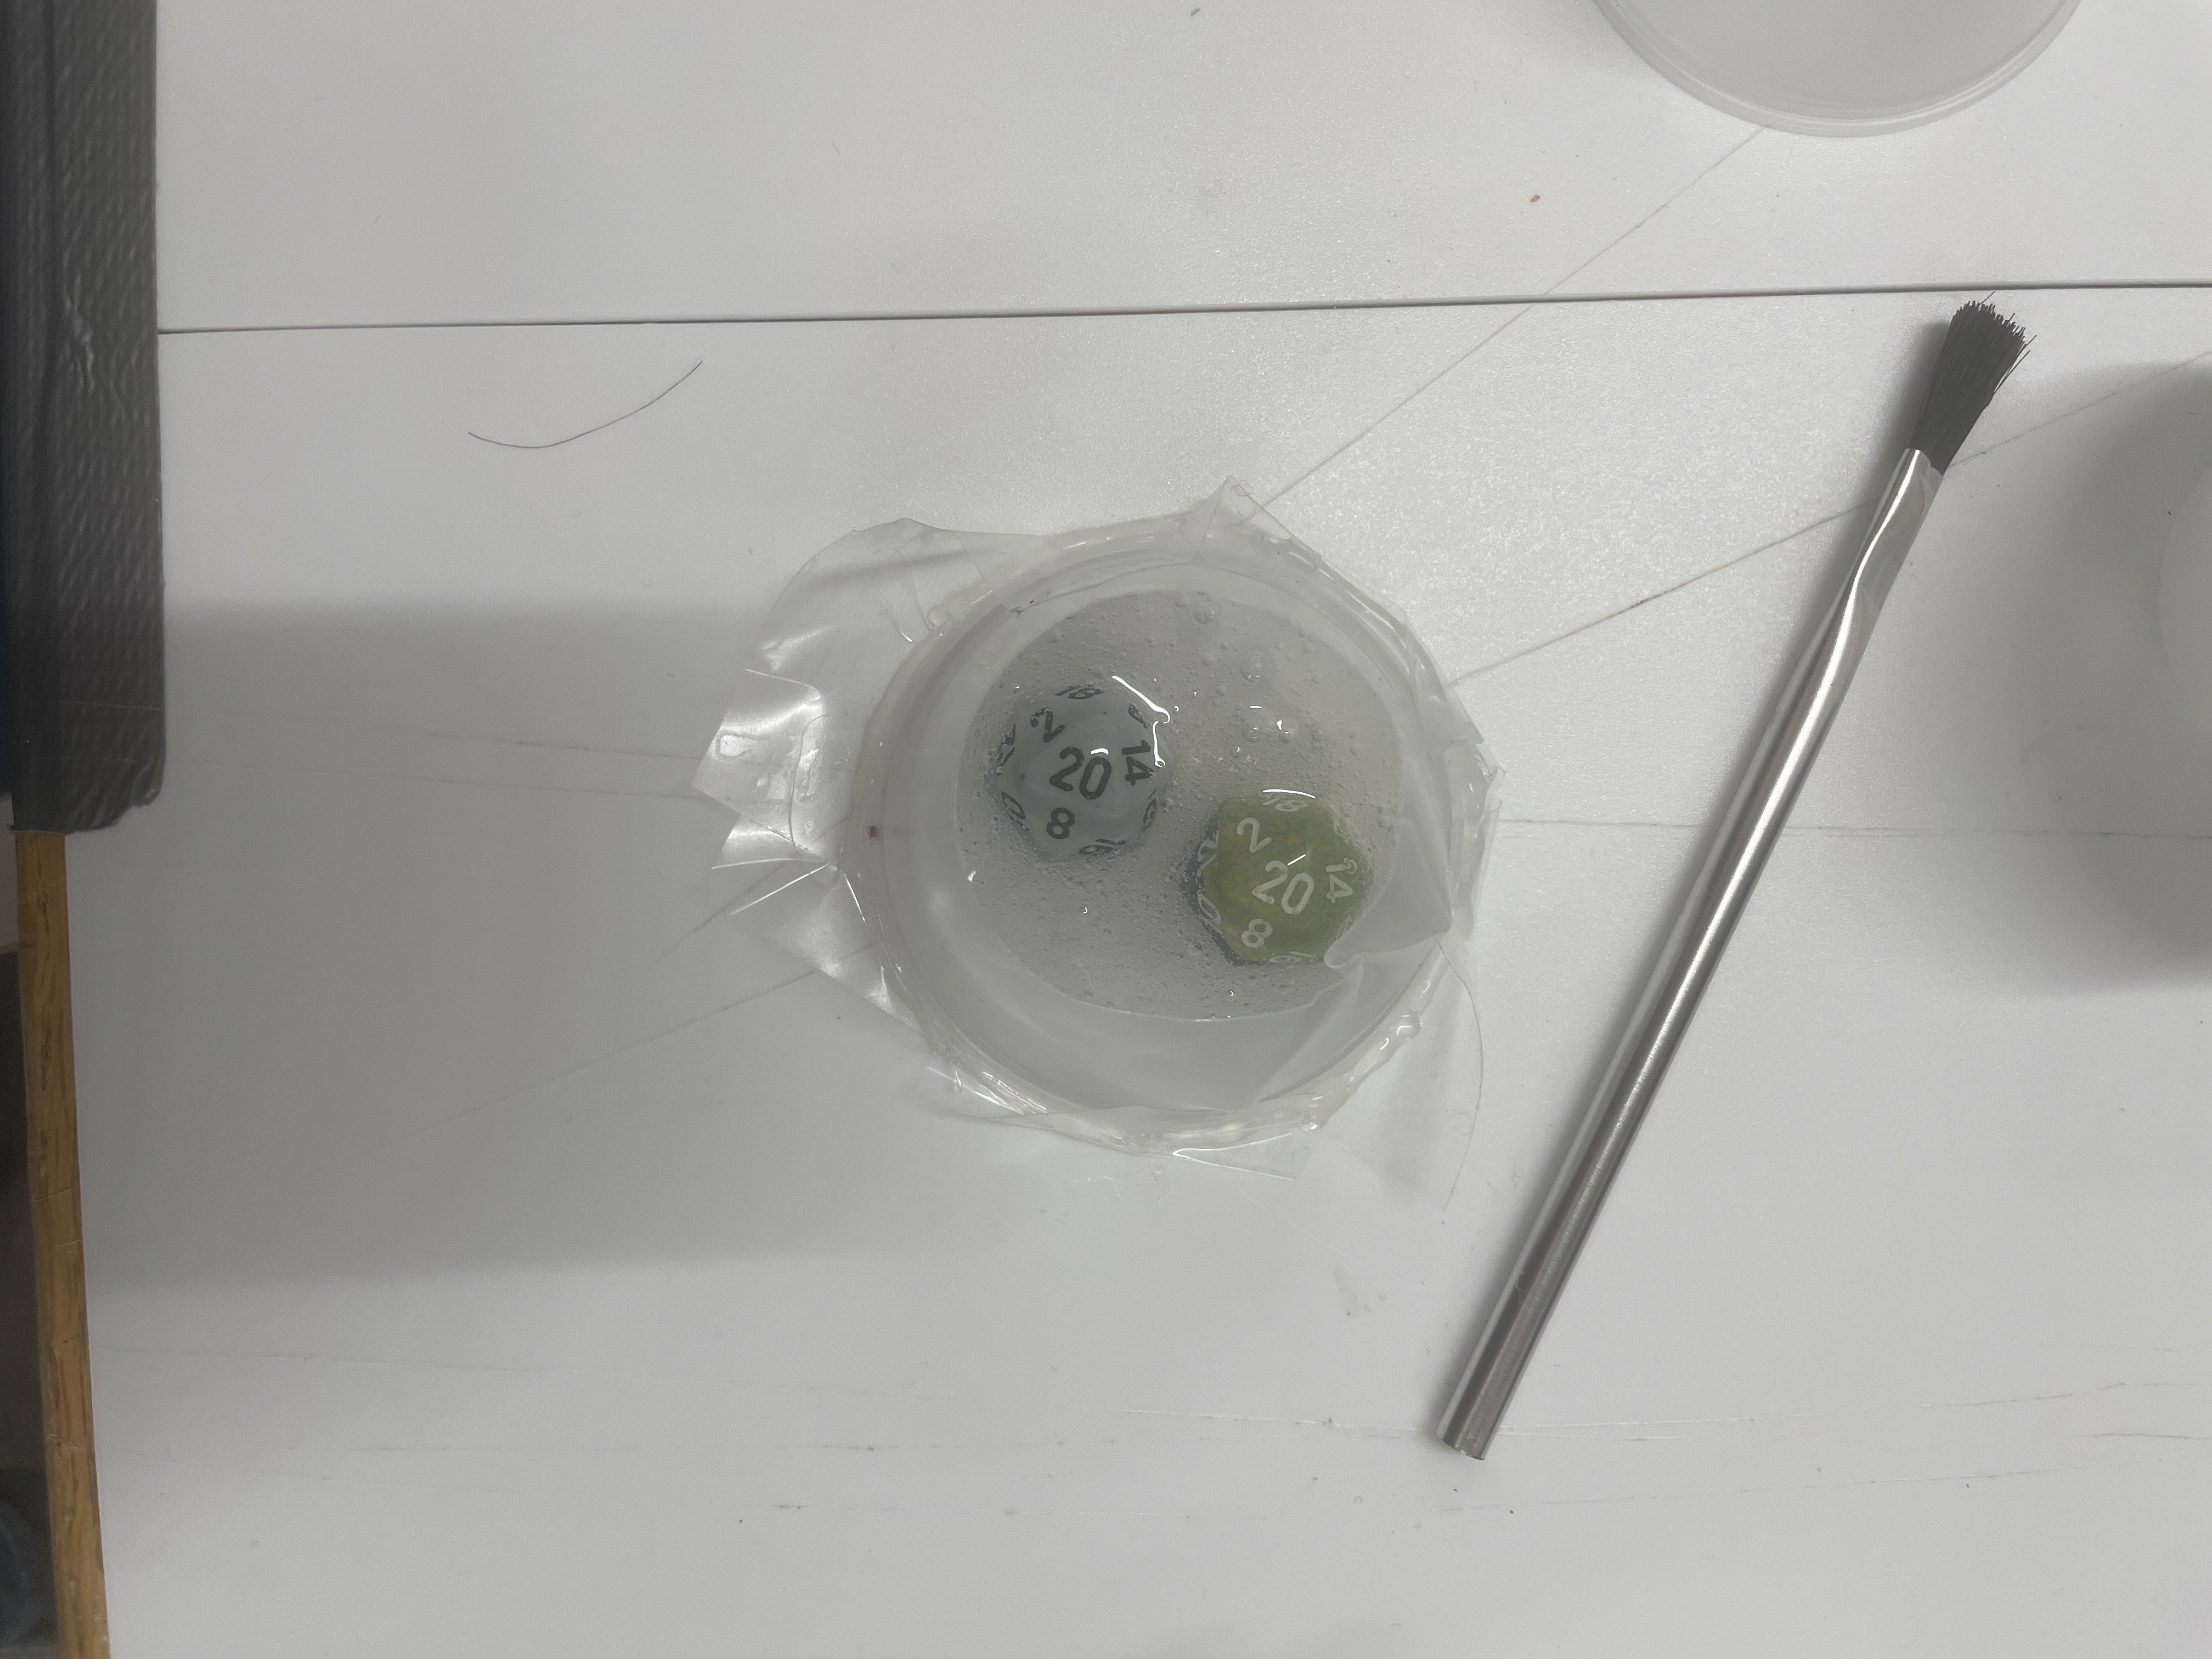
Side and top views of the bottom part of the mold
I sprayed everything thoroughly with mold release, mixed the SortaClear following the instructions on the box, then poured it into the mold. I underestimated how much silicone I would need and ended up mixing a second, smaller batch - fortunately, it was all within the 25 minute listed pot time, so I figured it was okay.
The next day, I came back to create part 2 of the mold. Following the instructions on the tutorials linked above, I pushed the solidified half of the mold out of the cup in order to cut registration marks in it. I cut three triangles out of the sides and two little divots from the face, making sure to avoid knocking into the dice. Next, I put the mold back in the cup and wrapped new packing tape around the outside of the cup. In the tutorials they used PVC, which easily creates a cylinder with packing tape. Since I was using a cup that was shaped more like a slice of a cone, the cylinder was a little more ramshackle, but it still worked. I put the mold inside another cup to encourage the packing tape to stay on, sprayed mold release, and poured a layer of SortaClear on.
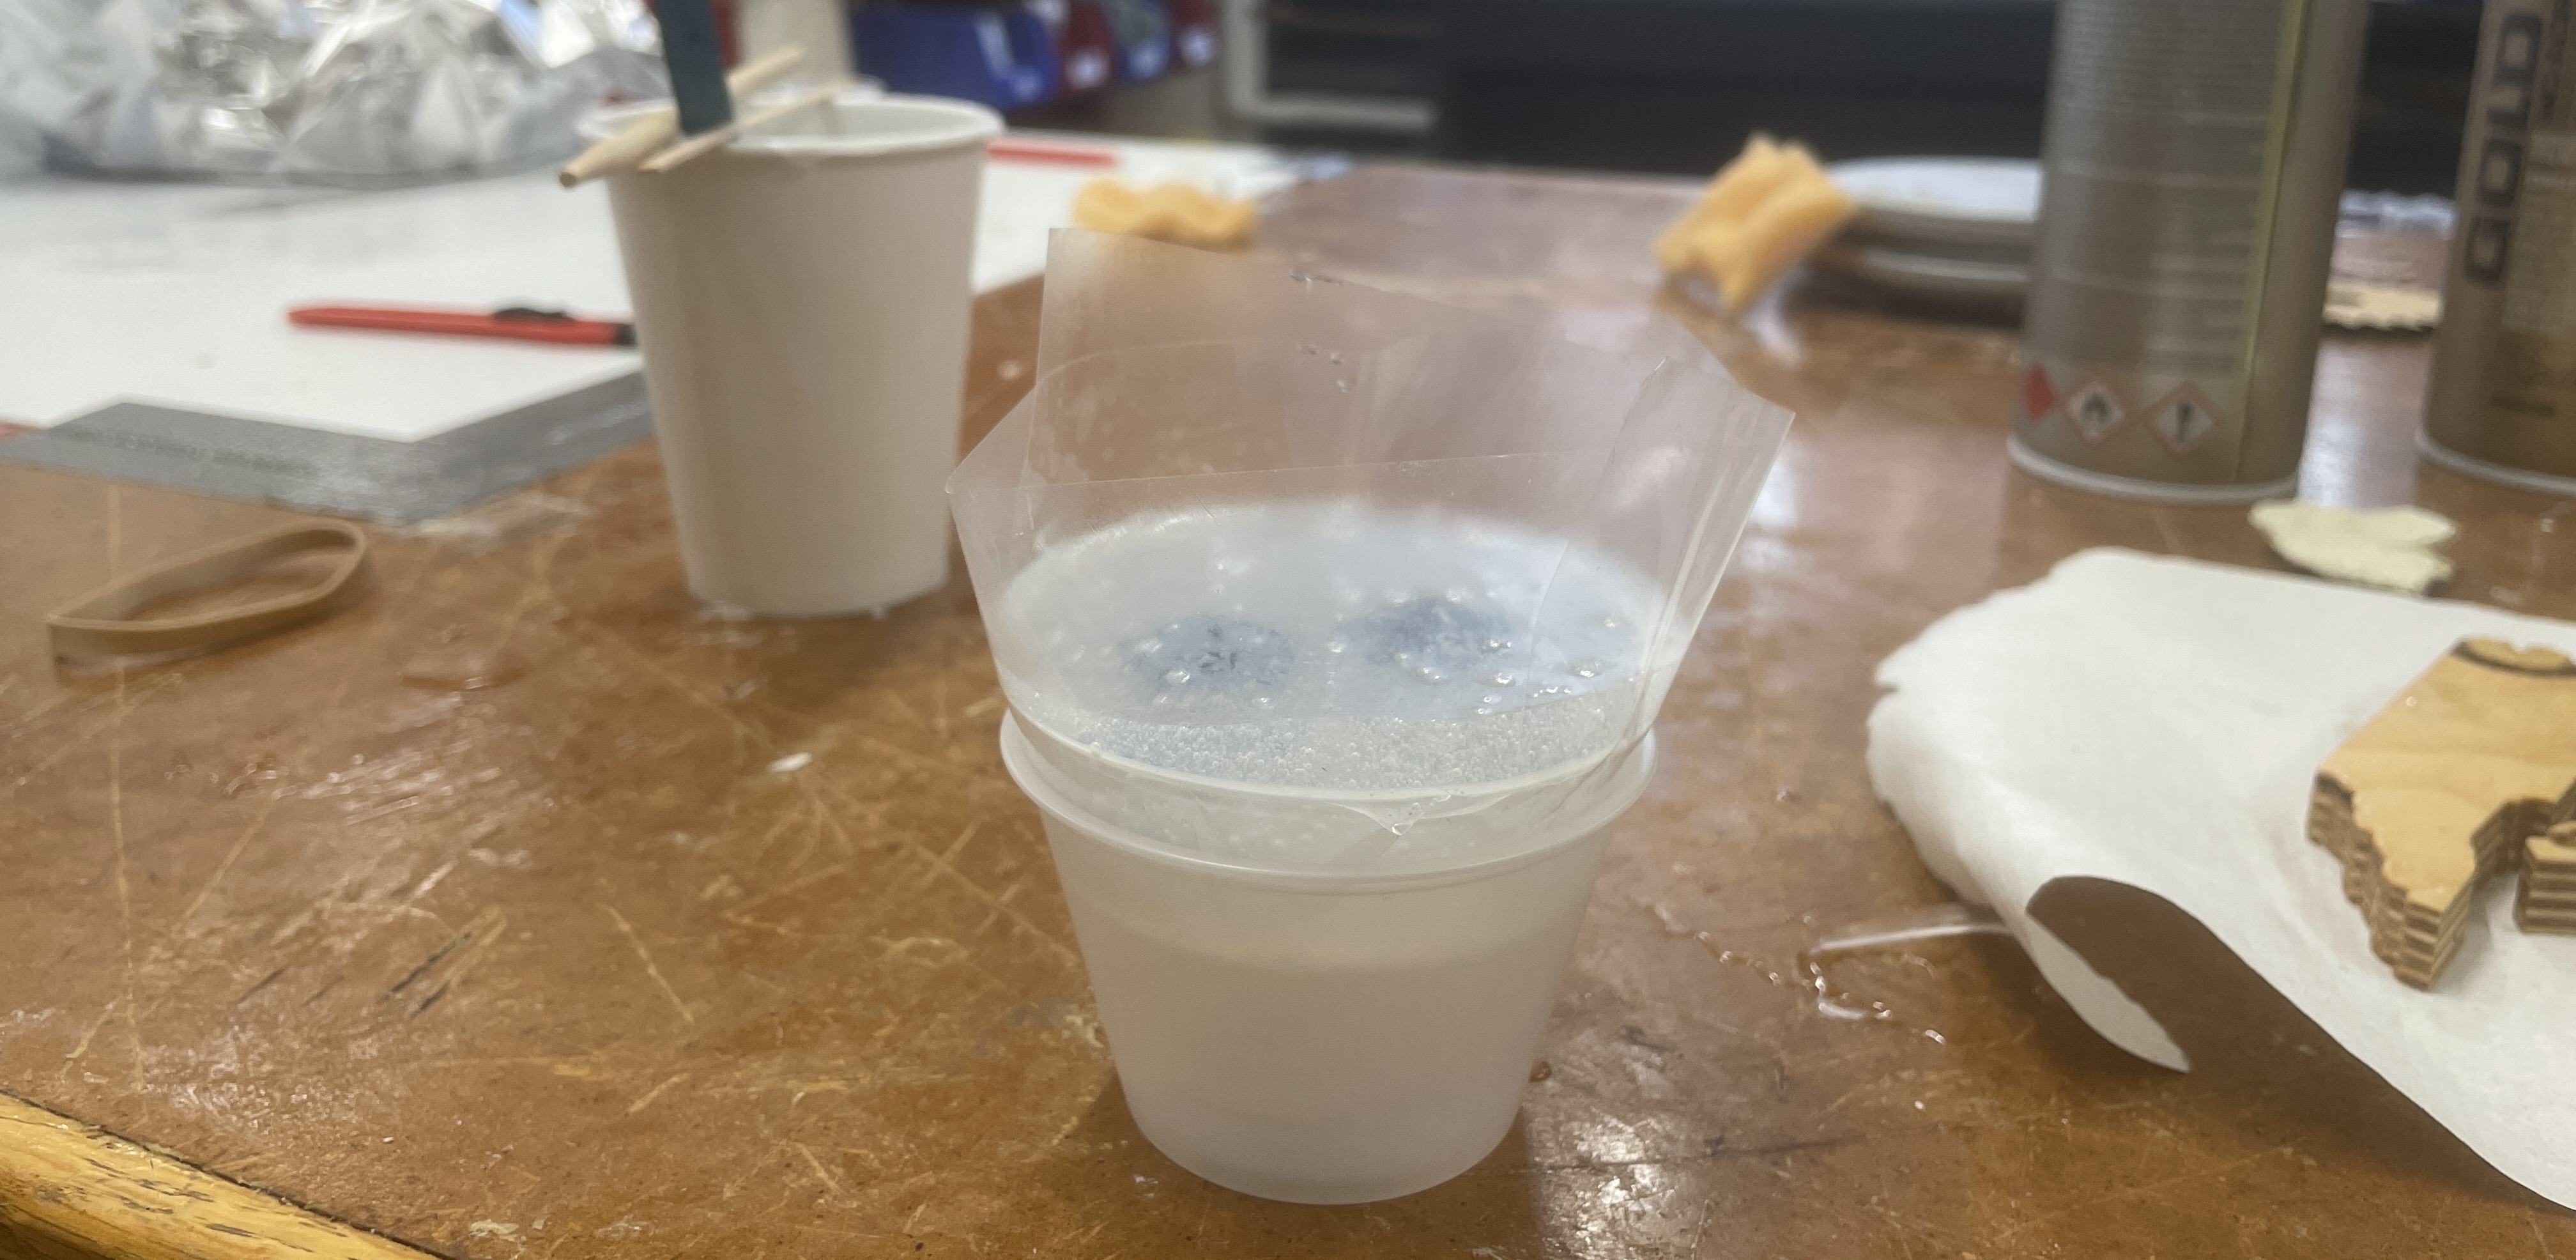
Second pour ft. messy table
Once the silicone cured, it was time to de-mold the dice. This was rather scary, because if I messed up and broke the mold, I'd have to redo all of my work. Also, pulling the dice out would reveal any flaws in the mold. I carefully pried the top part of the mold off without breaking anything. Next was to get the dice out. Based on the shape of the mold, I had to stretch a hole the size of one triangular face of the die to fit the entire widest part of the die. At this moment, I regretted picking 20-sided dice, since they have the worst ratio.
Eventually, I got the dice out without tearing the molds. I was actually really impressed with how much detail the silicone picked up! Because the molds are made of SortaClear and rather bubbly, it's difficult to photograph the details, but here are my best tries. It kinda looks like ghost dice are still inside the mold.
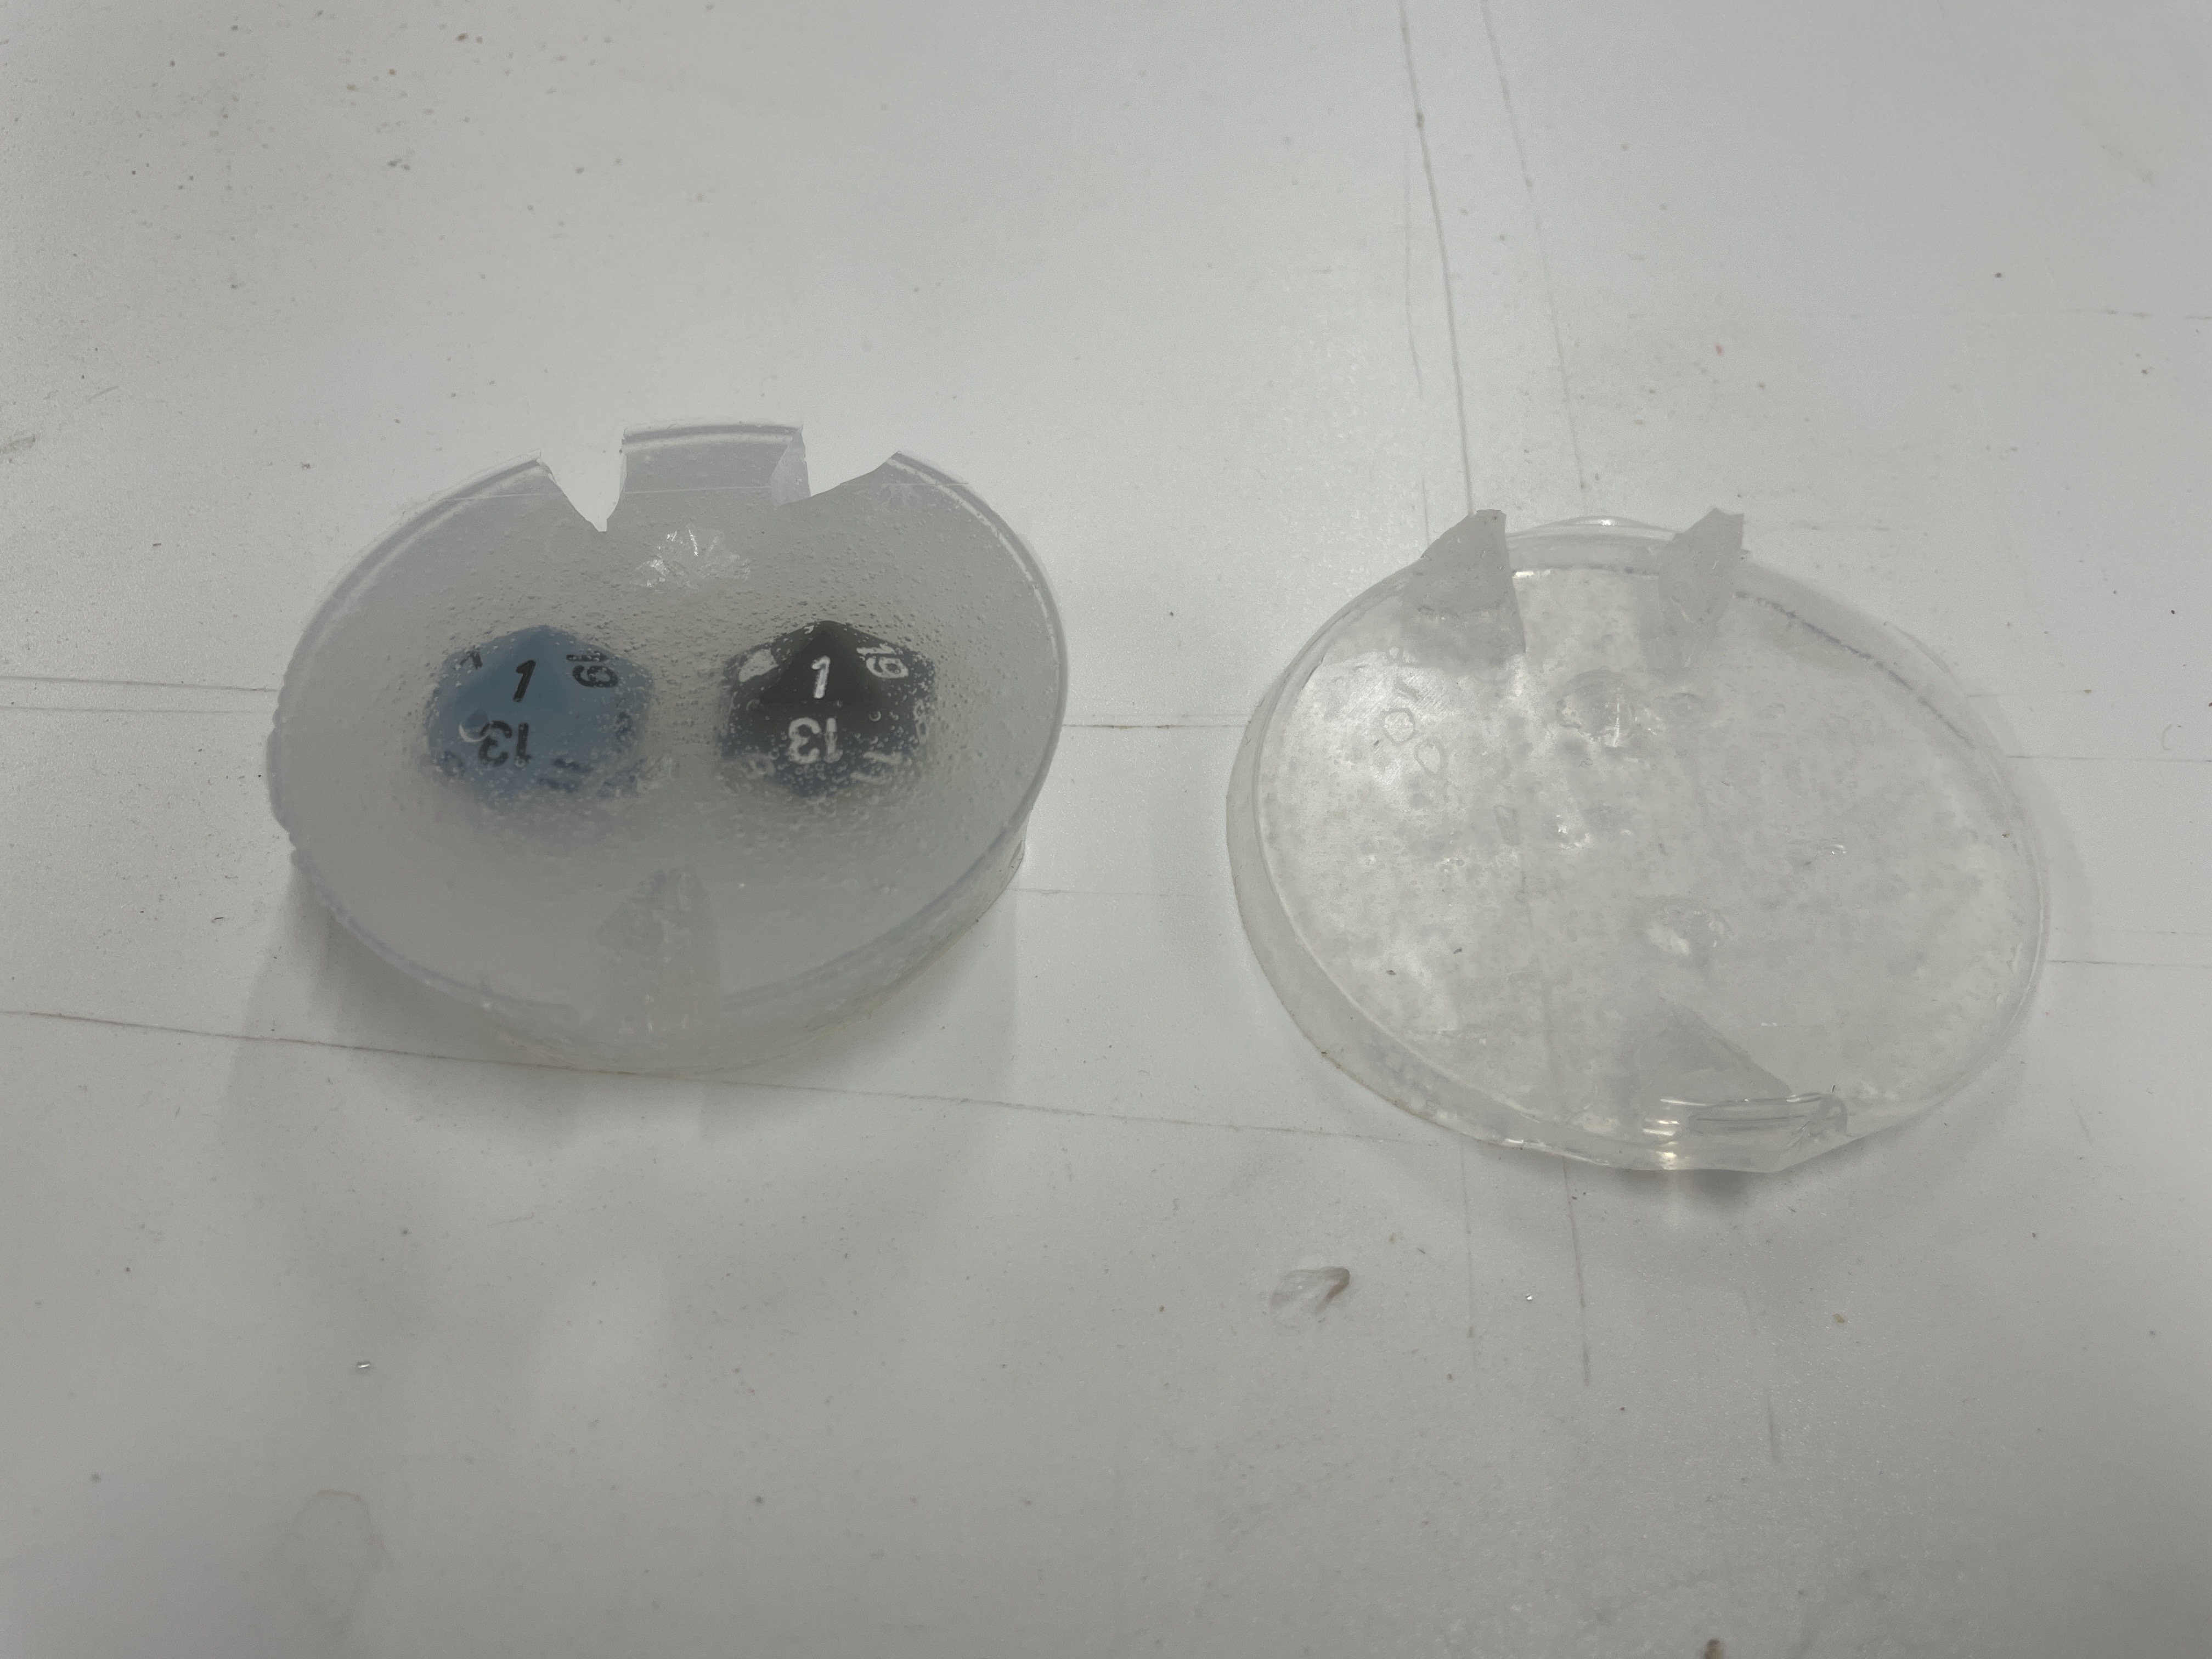
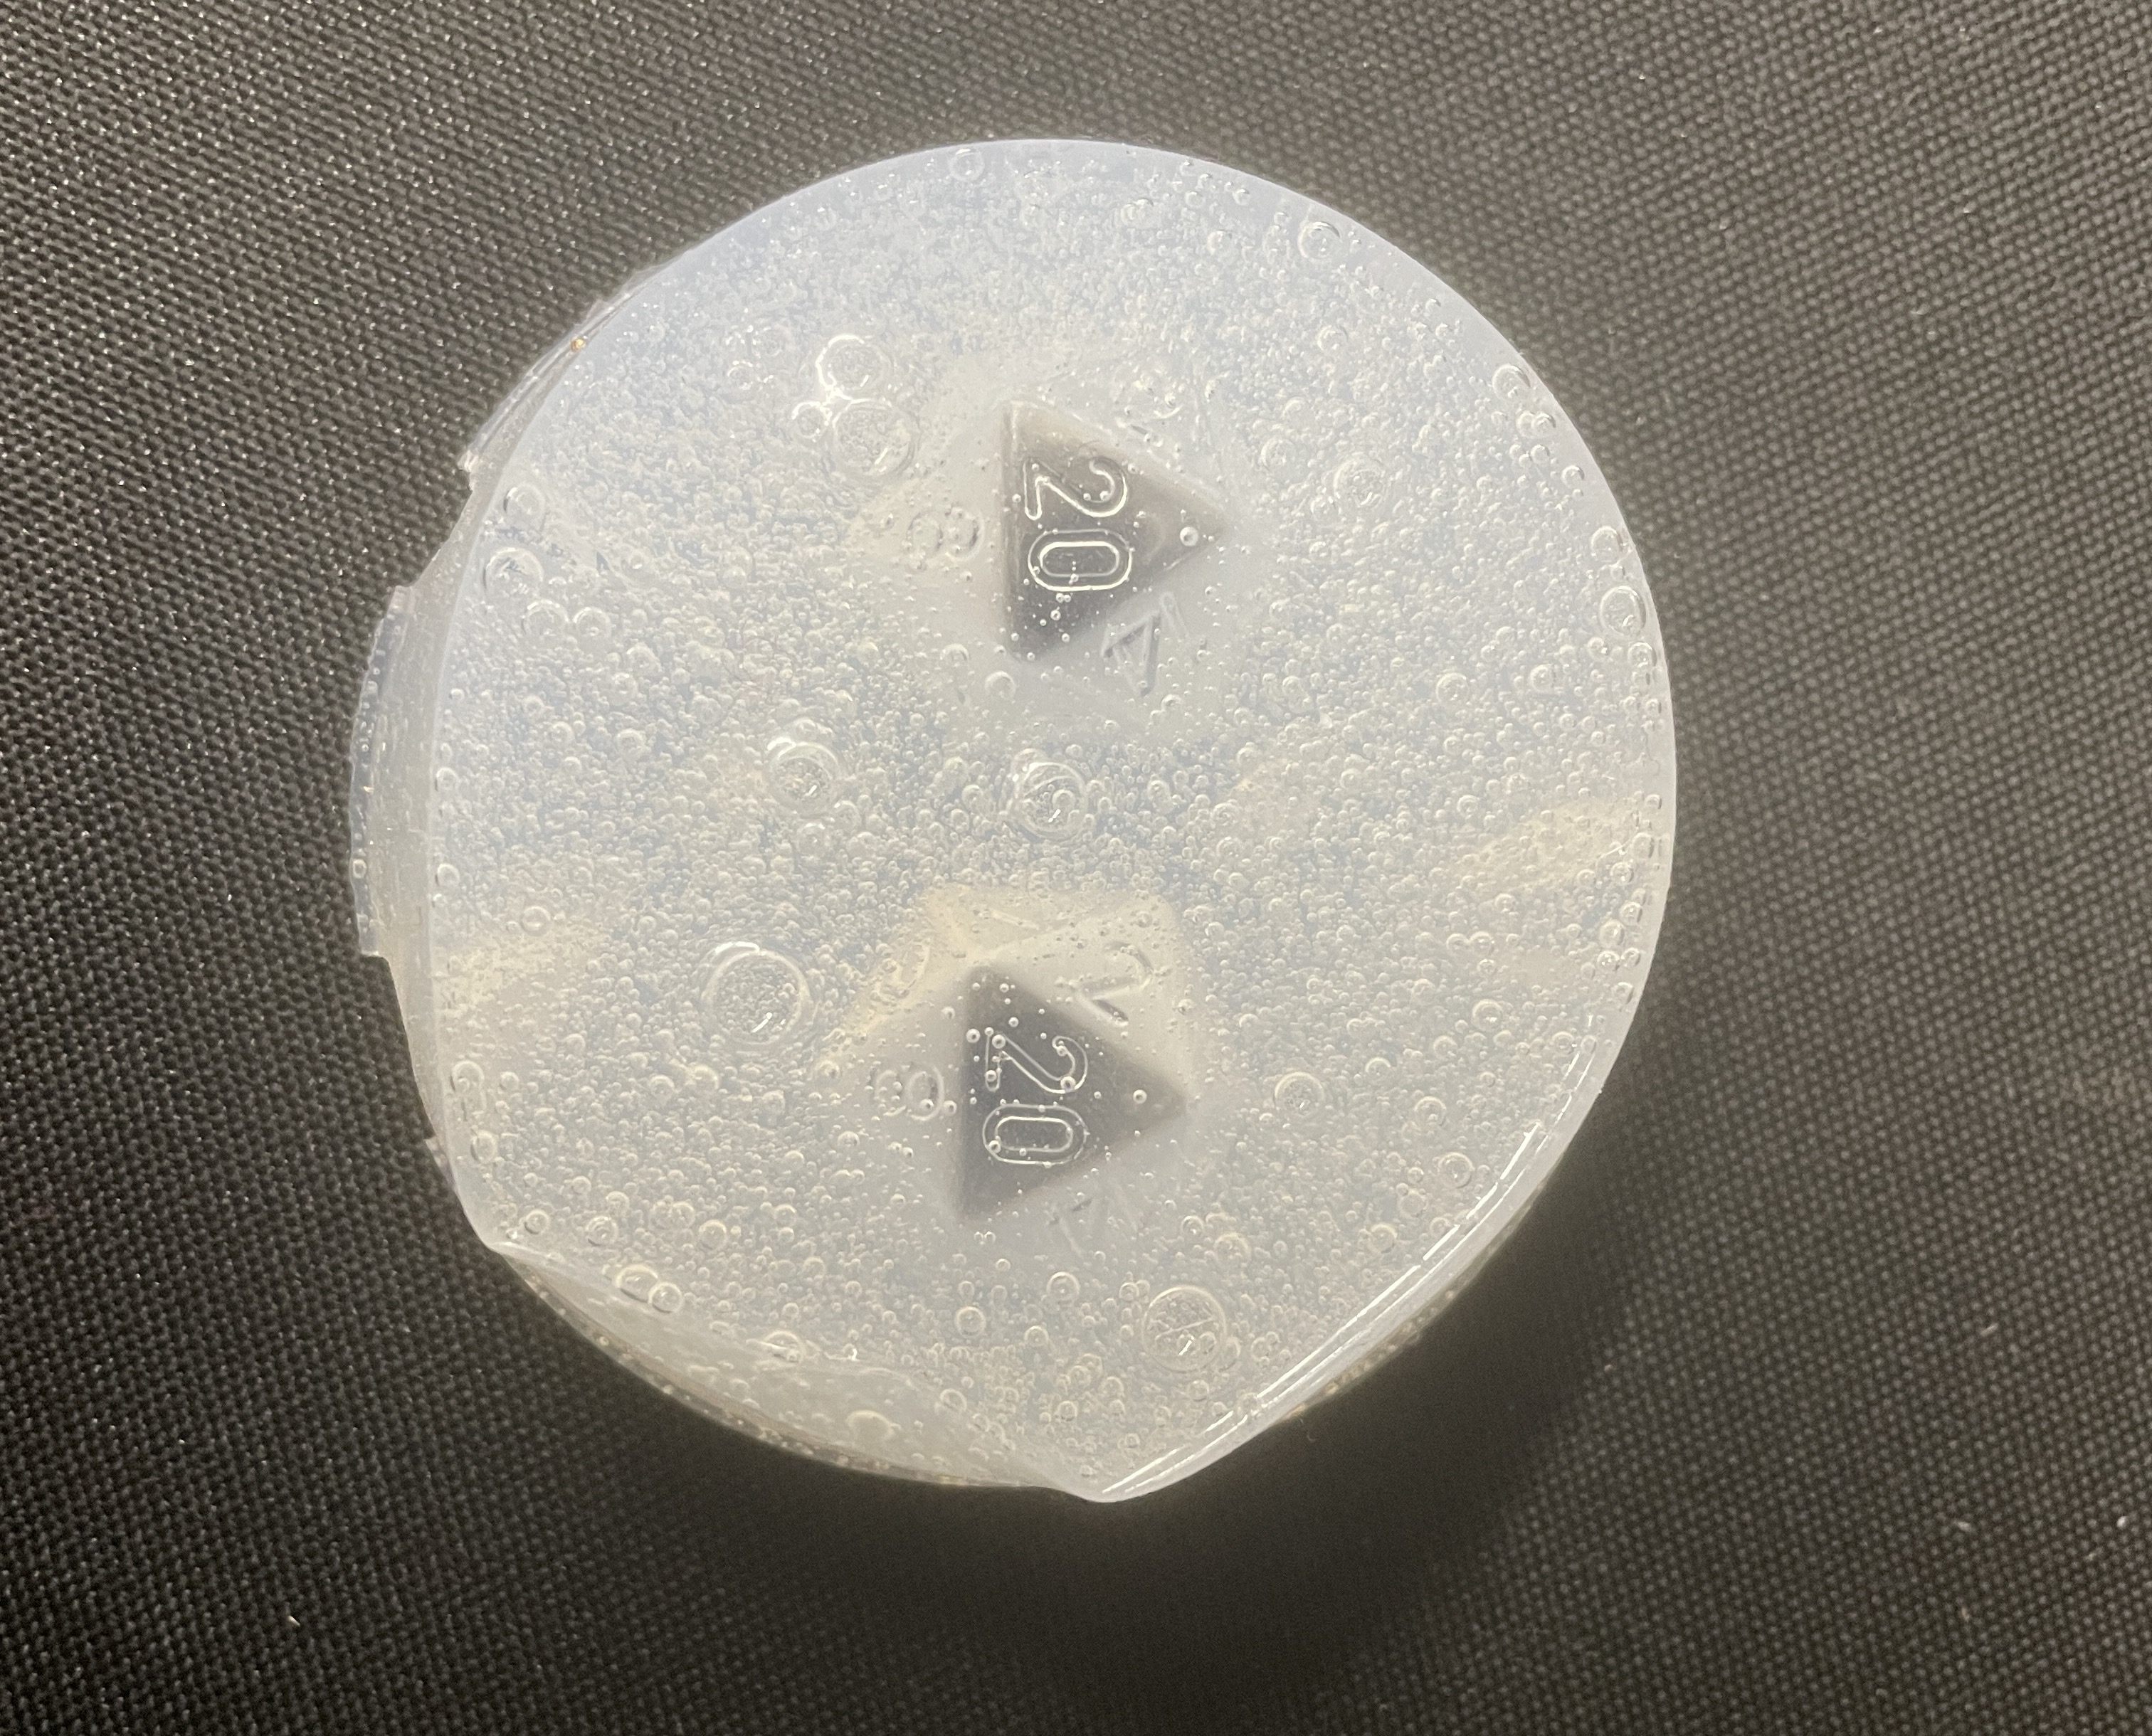
The top and bottom of the molds before I took the dice out, then the bottom mold without dice inside. Note the registration cuts in the bottom section, to ensure alignment with the top half.
I chose to use the SortaClear for a reason: I wanted to make dice cubes.
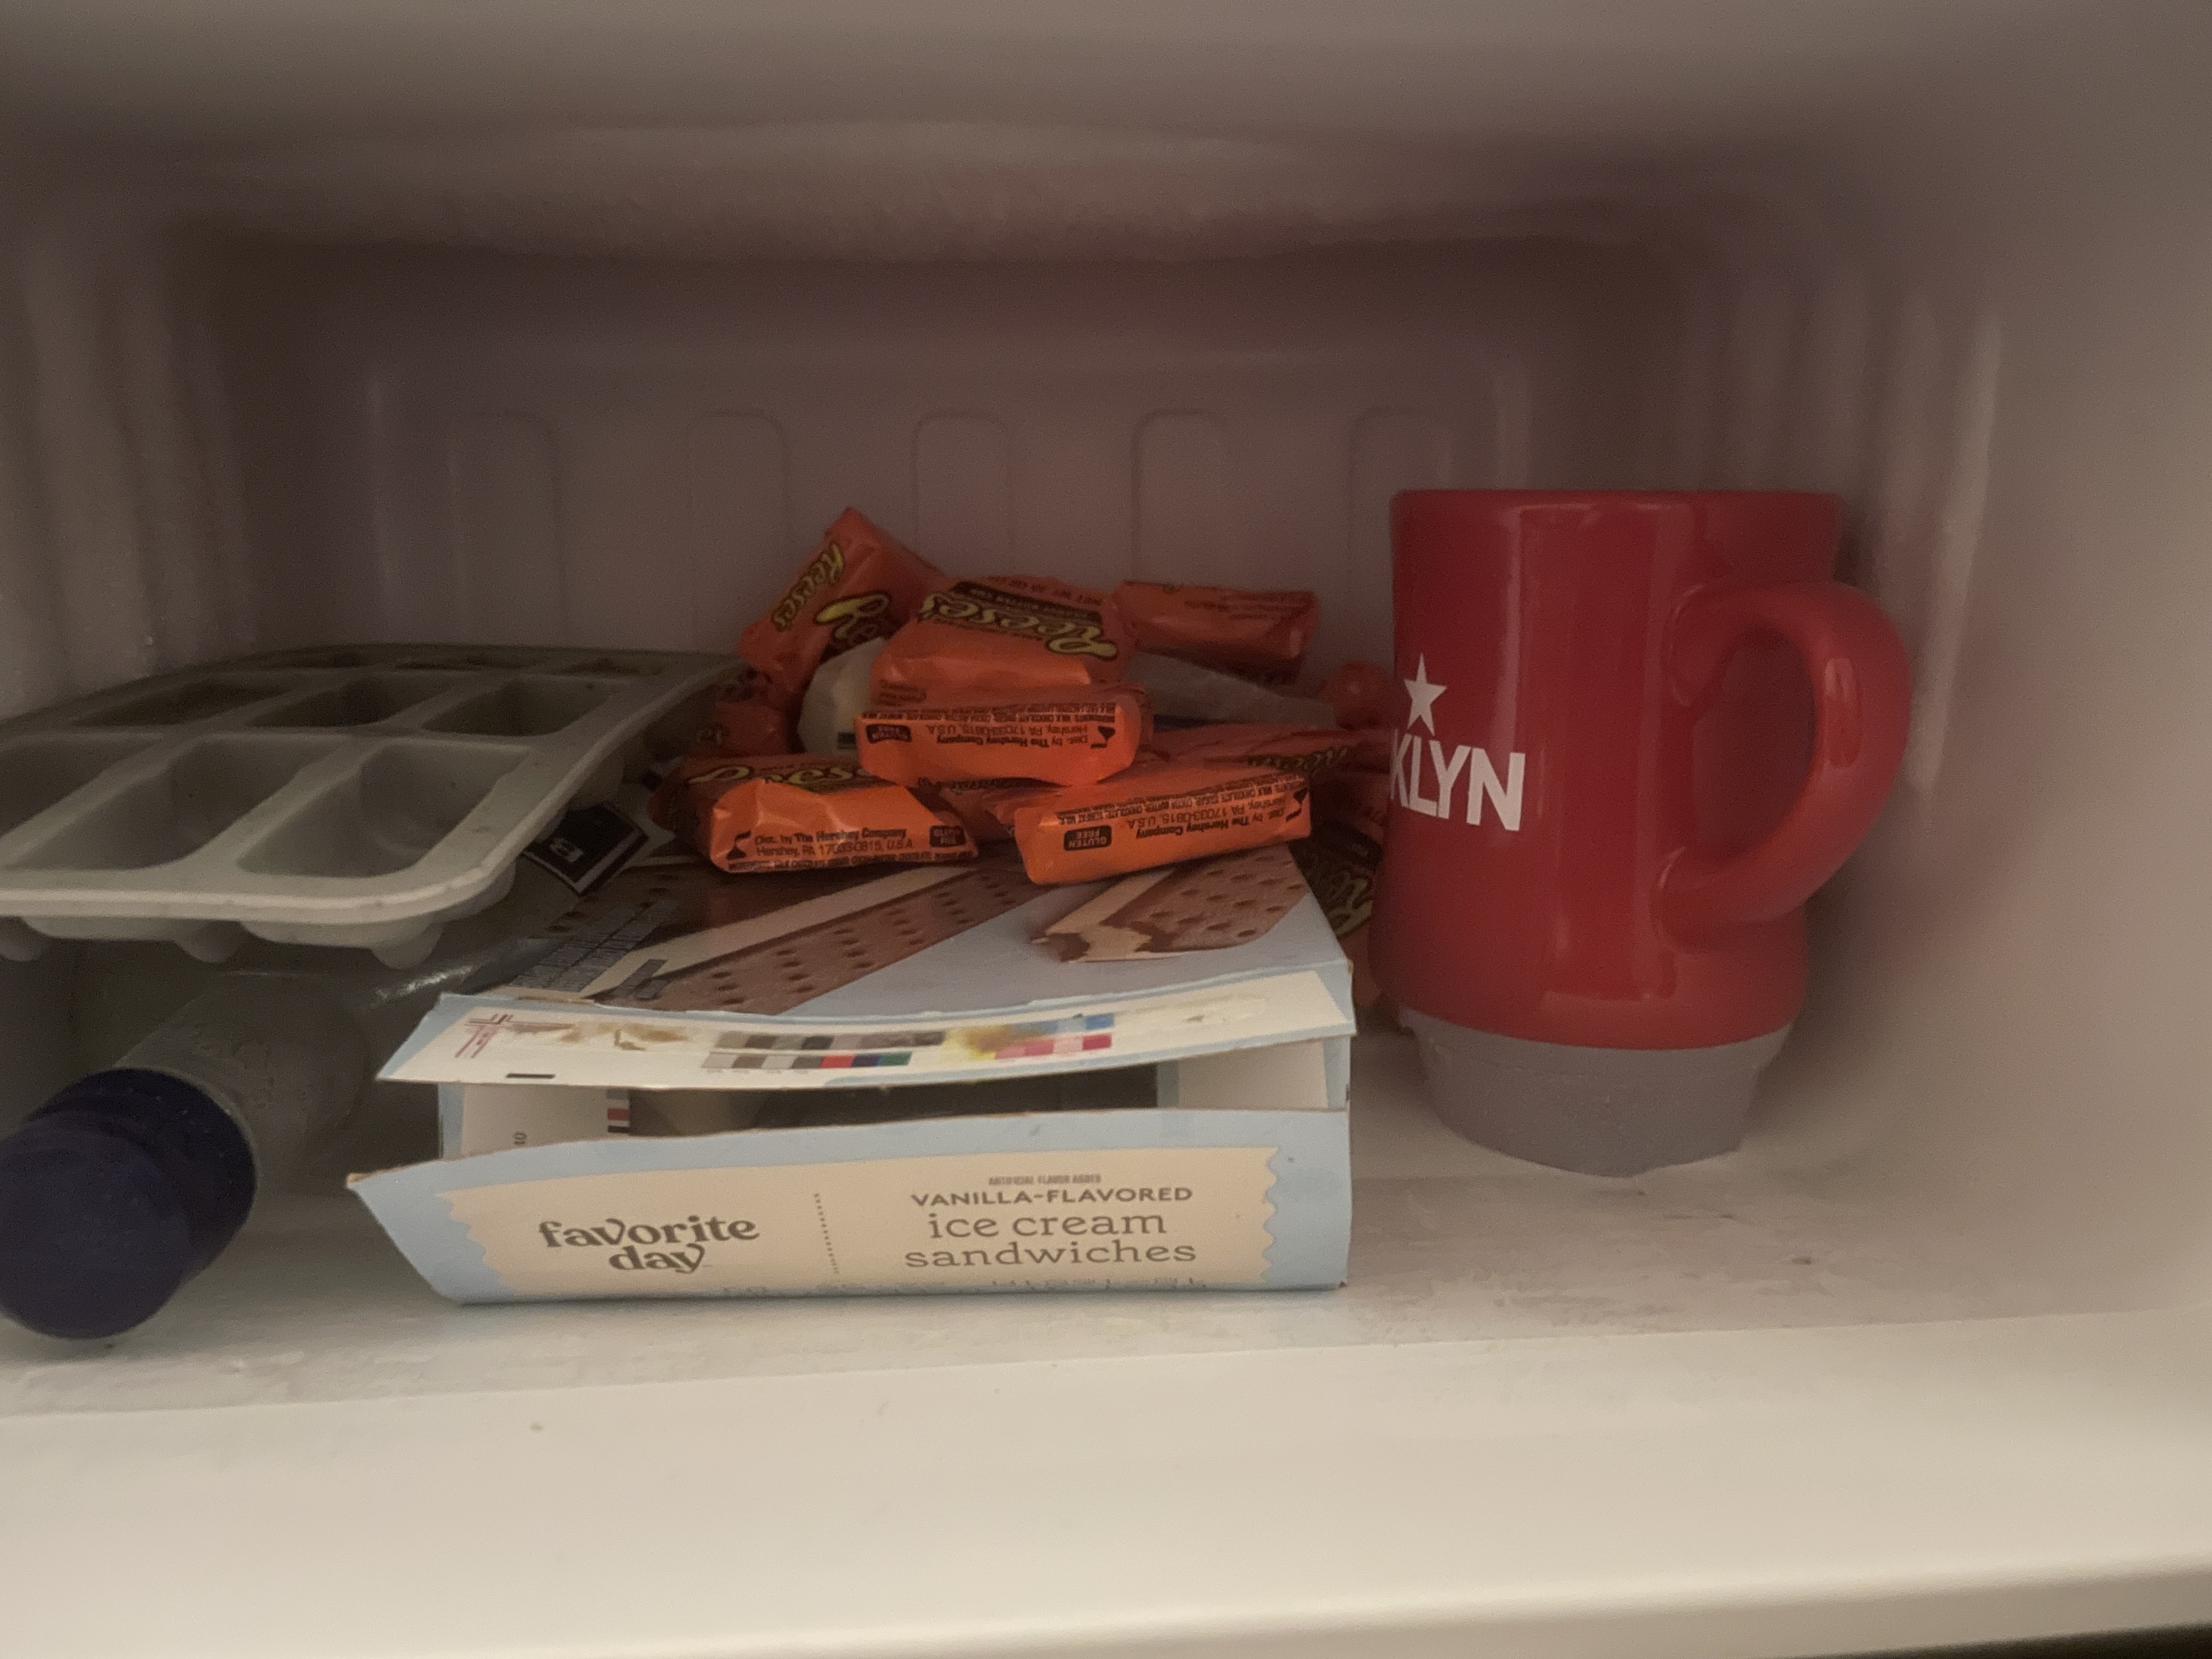
my dorm freezer, with the mold in the bottom-right corner. mug on top for weight.
The next day, I took out the mold and popped out the dice. It was difficult to work fast enough to avoid the details melting off, but the numbers were well-captured.
